Longer dovetail and 3D printed azimuth cover for the NexStar 5SE
2020 Oct 11 - Brian Kloppenborg
Shortly after COVID hit in March of 2019, it became apparent that I couldn’t keep my business running doing data science, machine learning, and GPU acceleration. Not only had the market nearly vanished over night, but also the number of opportunities to network and find new business was gone. So I decided to pivot my business to focus on data acquisition and software development for the astrophysics market.
In order to kick start these activities, I purchased a new NexStar 5SE telescope and some used cameras, filters, and optical components from a university auction. What I ended up with was a pretty nice setup consisting of the telescope, a SBIG ST-10 camera, a SBIG CFW-8 filter wheel, a full set of UBVRI and RGBL filters, and a bunch of eyepieces.
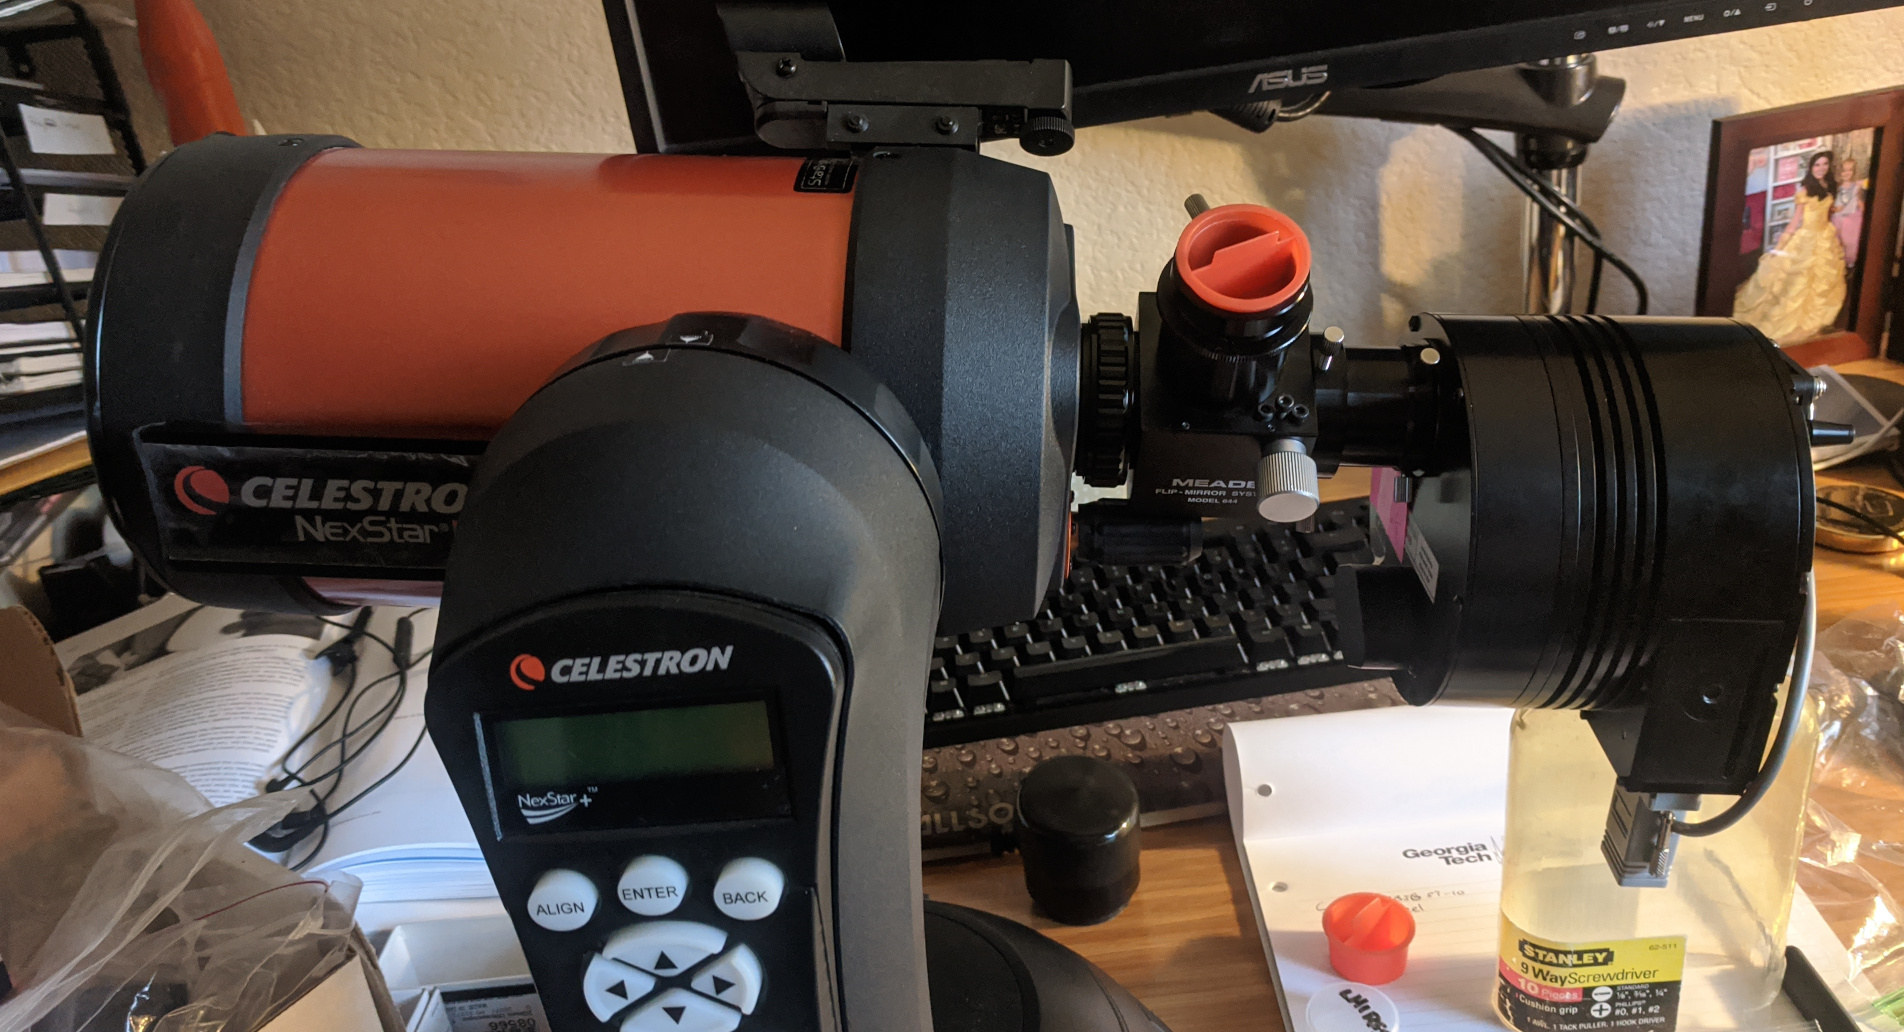
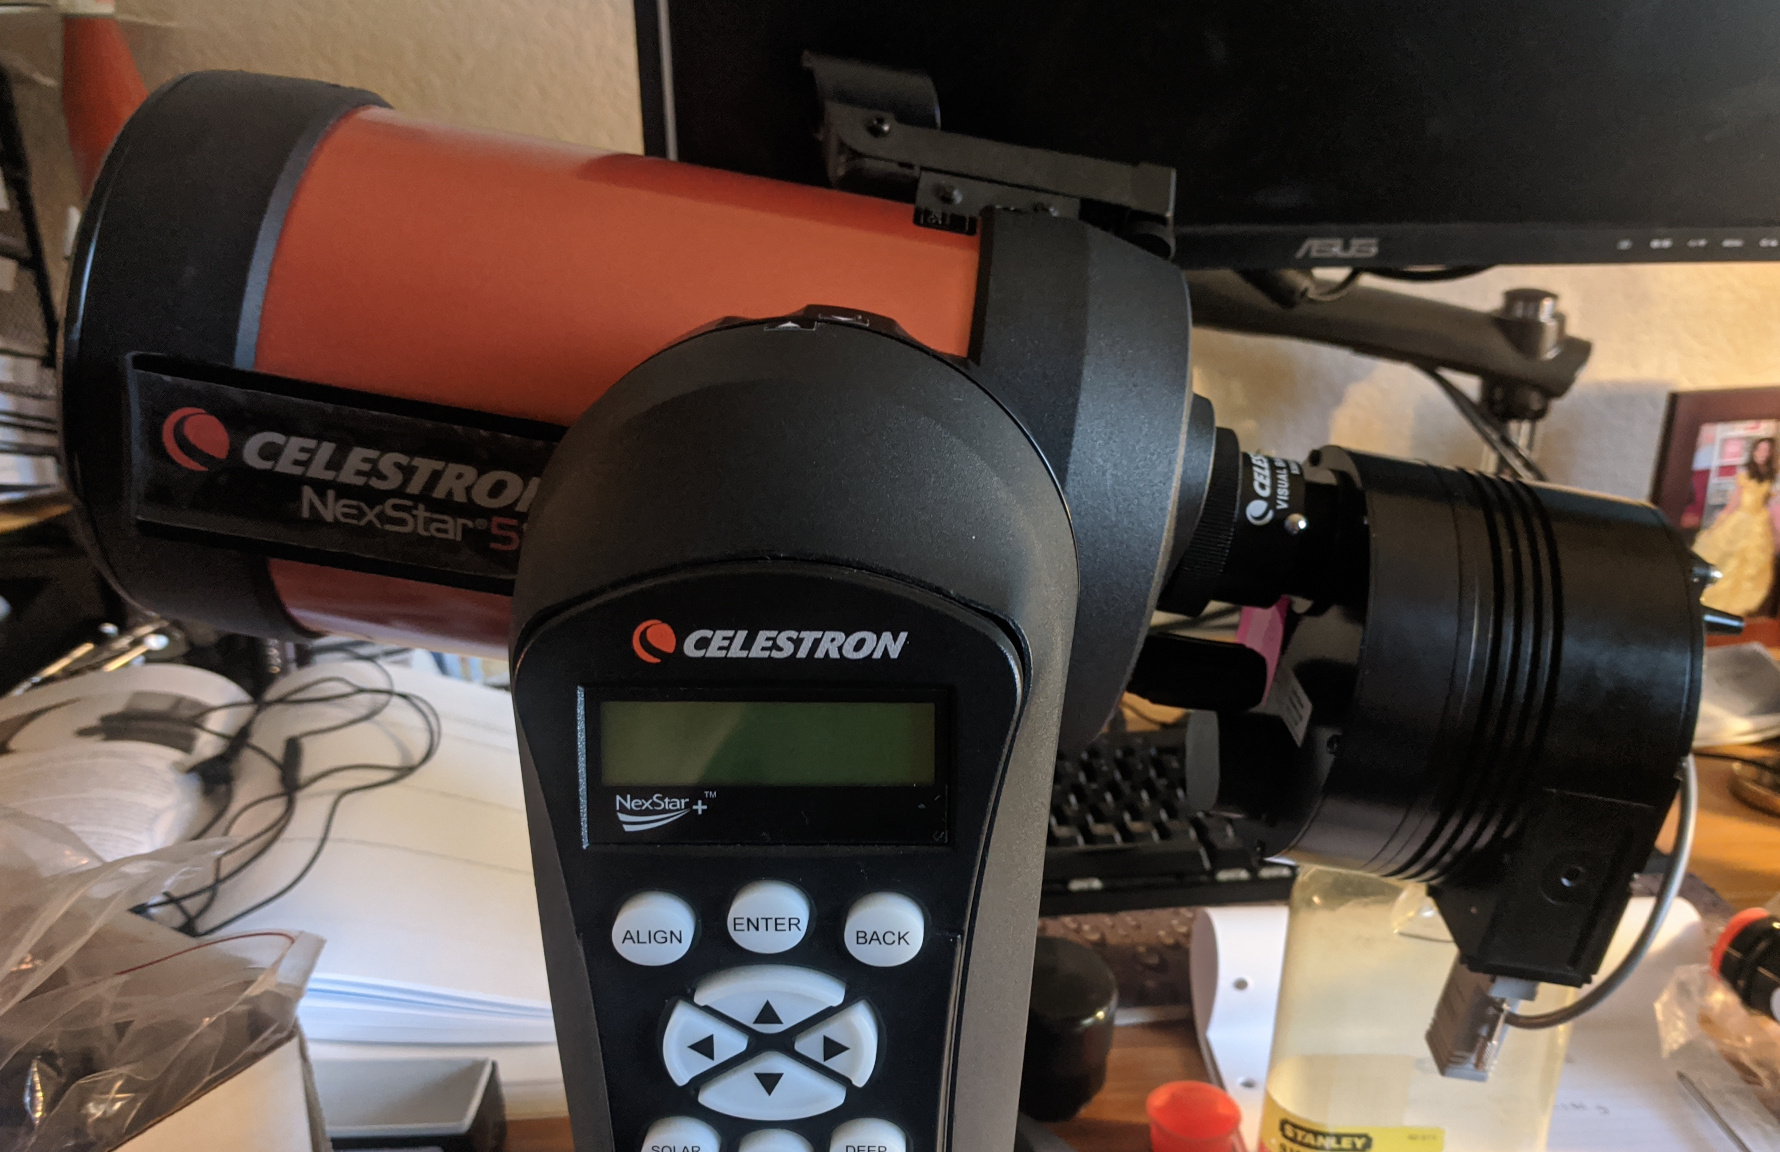
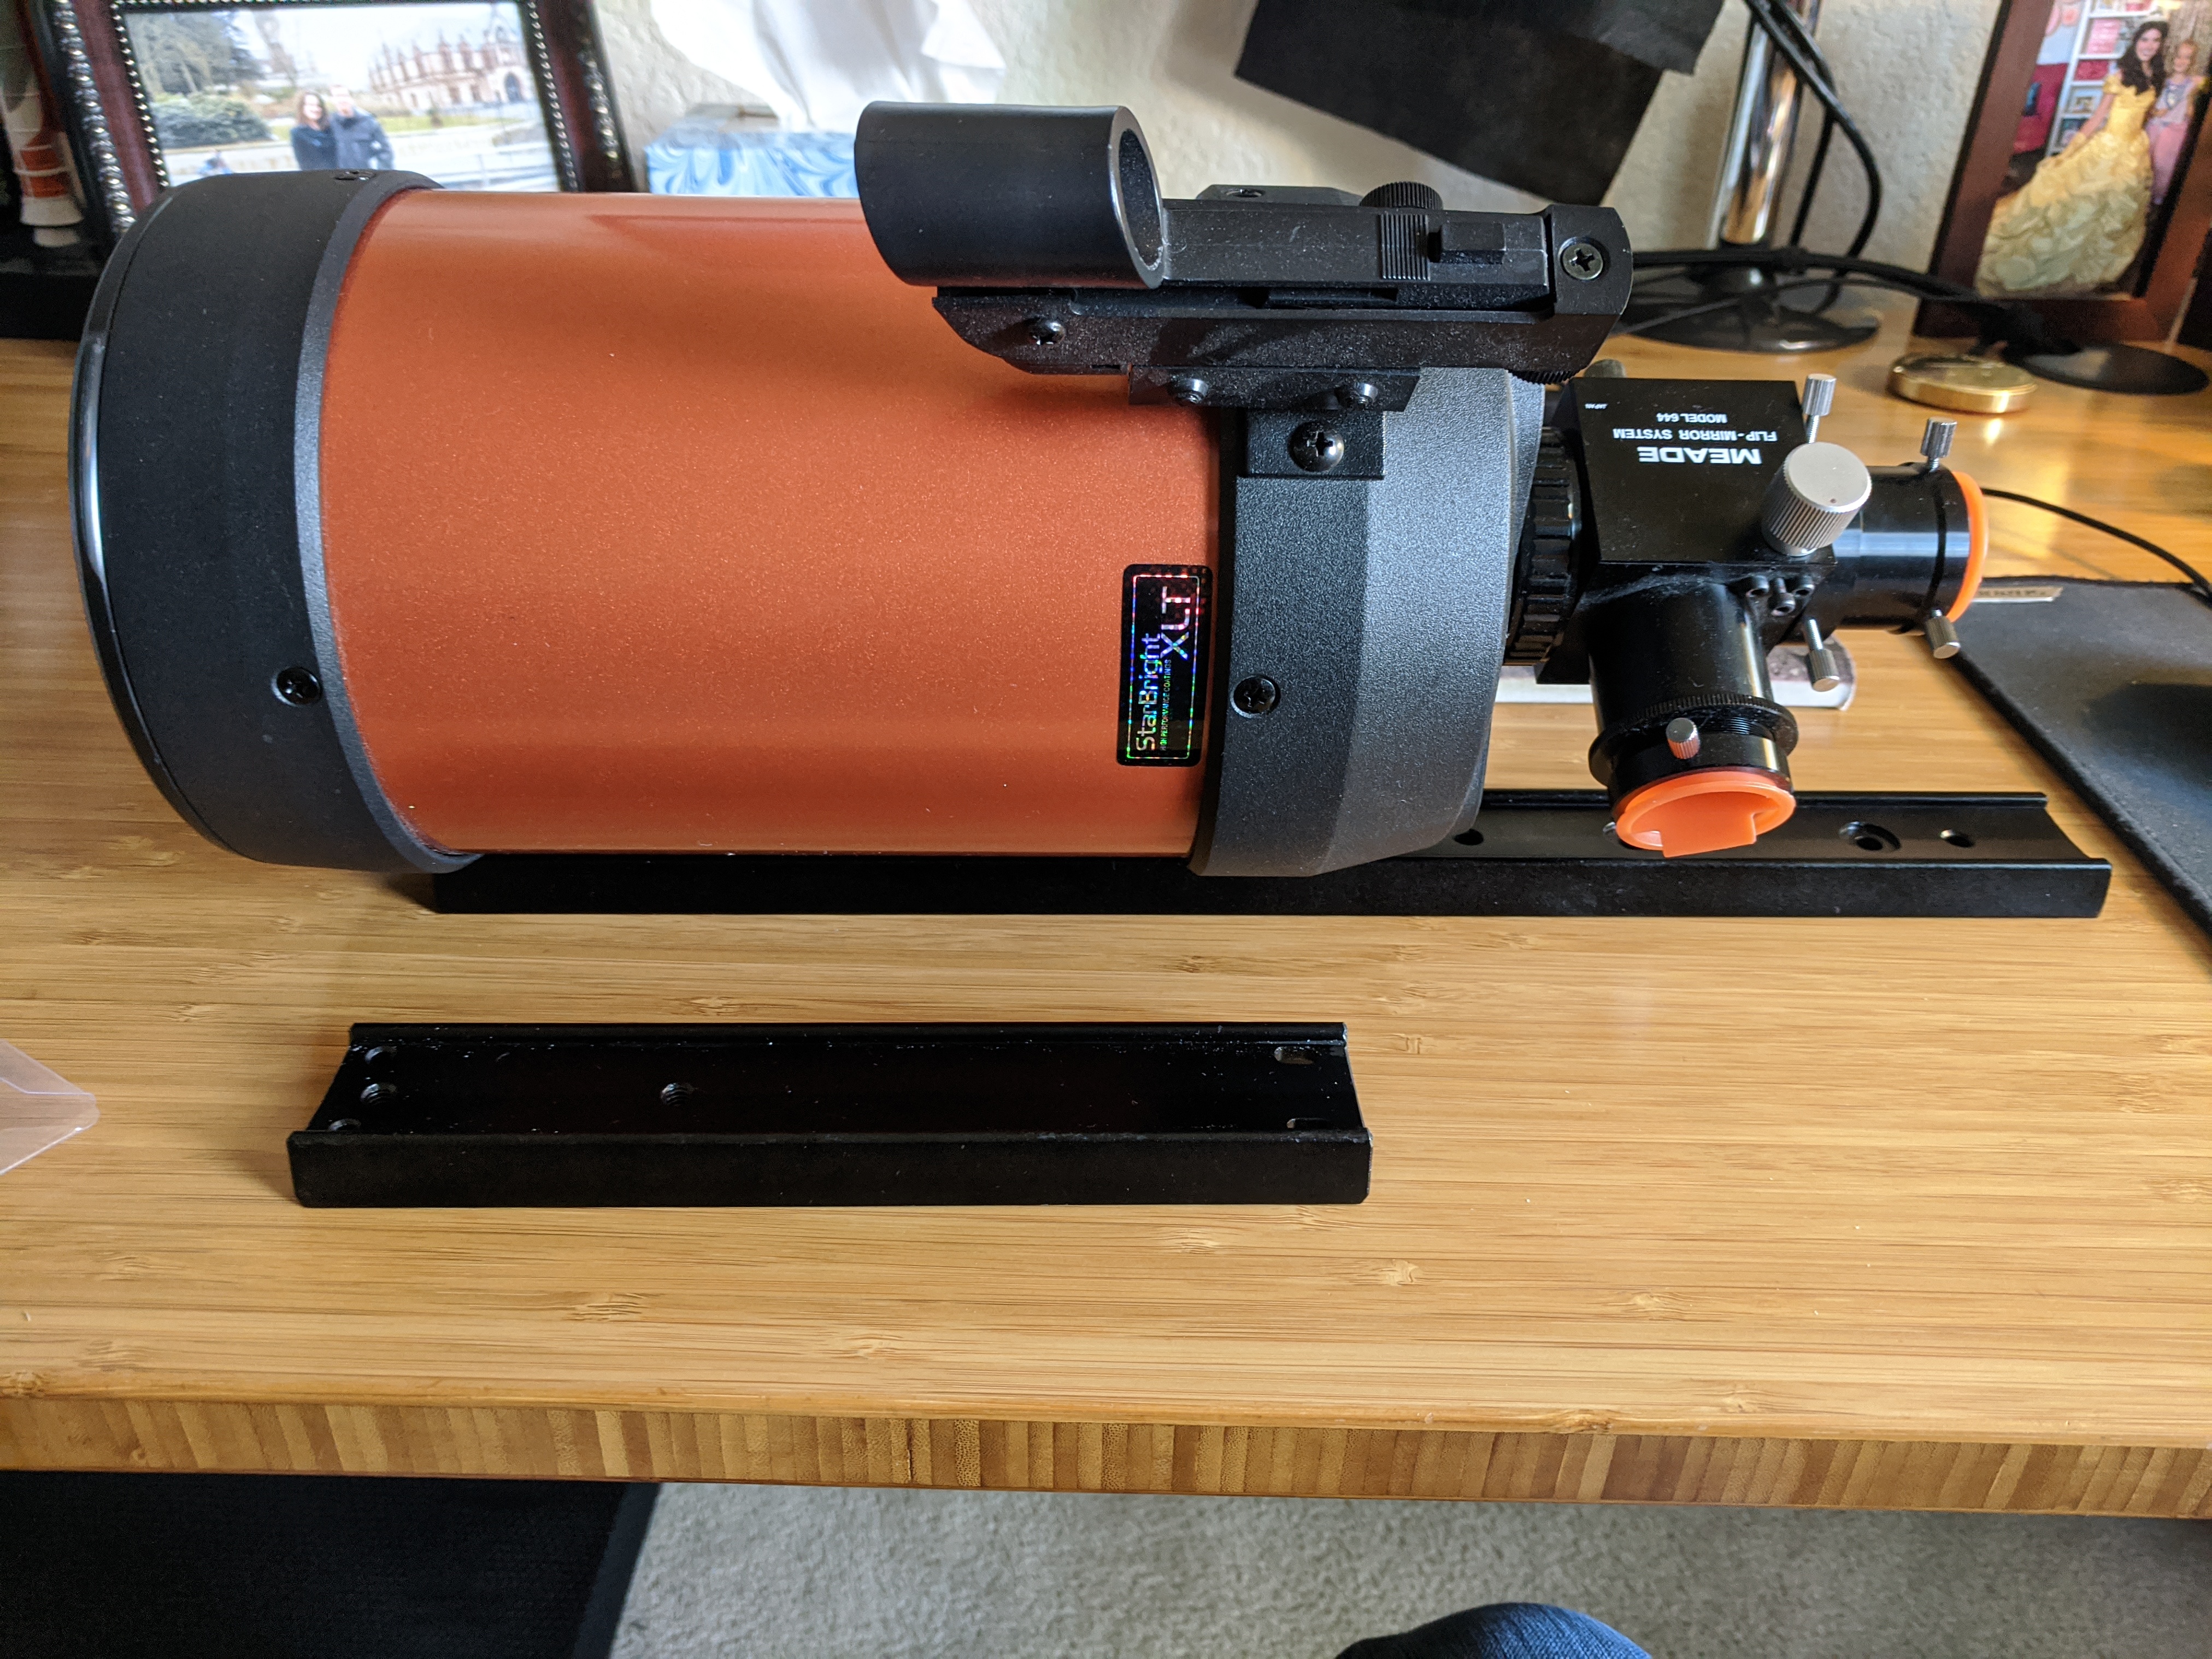
Despite the nice gear I had one significant problem: the ST-10 was too heavy for the mount to support when placed at the Cassegrain focus. So for the first six months I used some right angle adapters to put the camera on the side of the tube as shown below and tolerated the reduction in image quality.

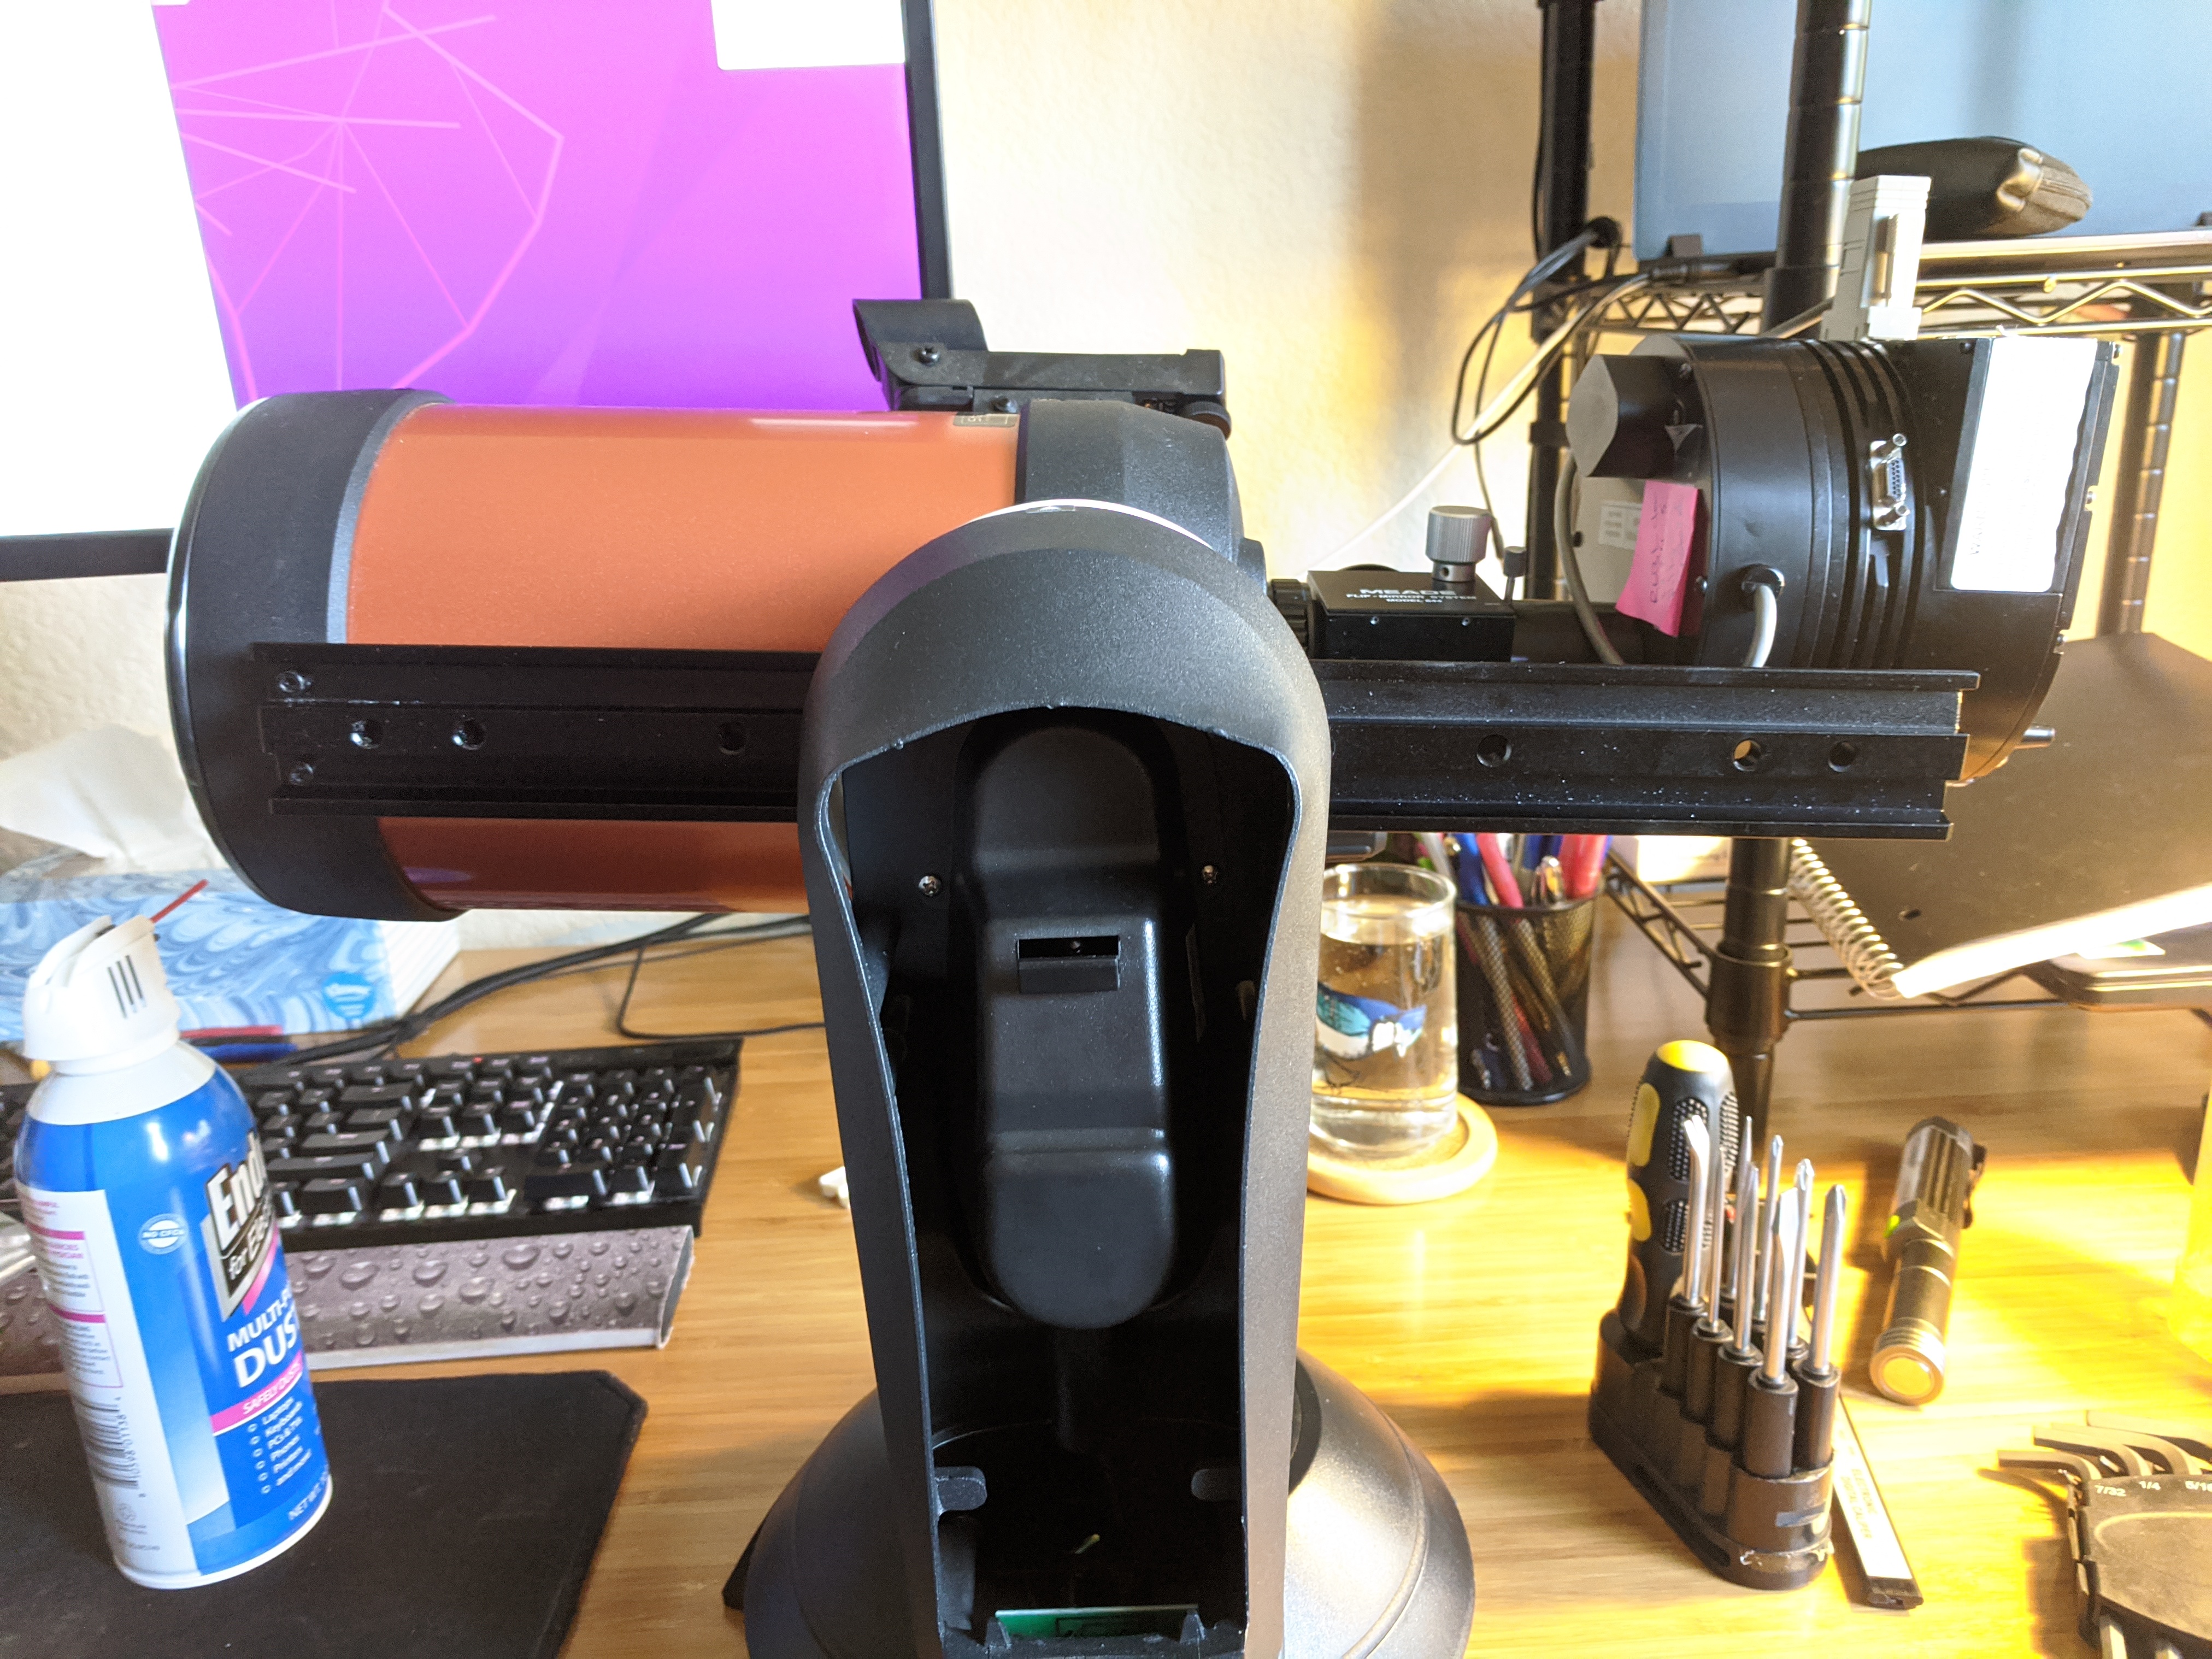
After I purchased a 3D printer for my business in September, I decided to do something about these issues. First, I figured out how I could mount the camera with and without the flip mirror in place. For either of these configurations to work, I needed to move the telescope forward by 8-10 cm which meant I would need a longer dovetail. Unfortunately, the Azimuth cover on the NexStar 5SE mount stopped the mirror cell from moving any further so I would also need to print a new cover. The images below should give you some context for how bad these problems were.

Longer dovetail bracket
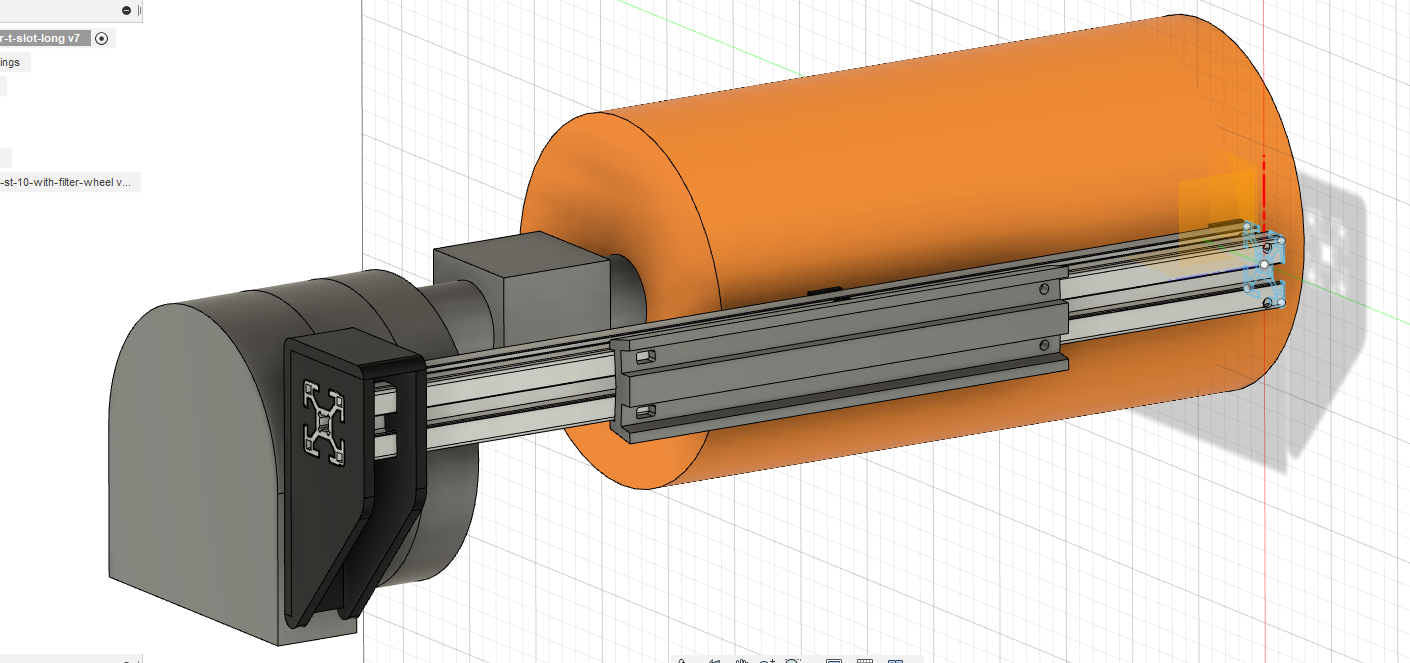
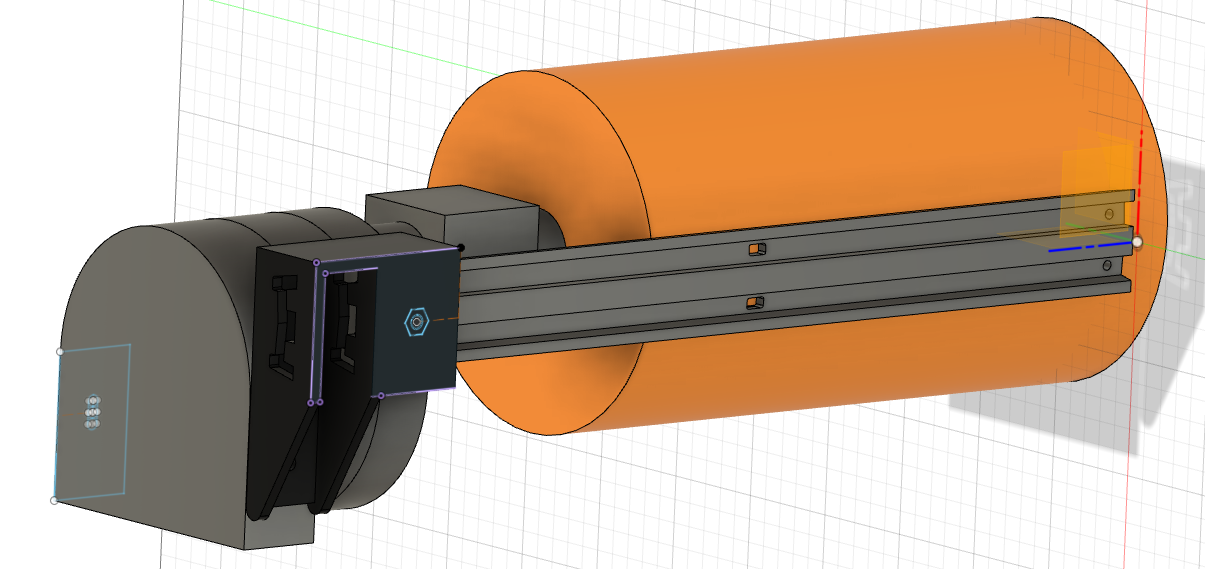
The first step in resolving these issues was the development of a longer dovetail bracket. As shown in the figure below, I mocked up two concepts in Fusion 360. The concept on the left uses the existing dovetail bracket with an aluminum extrusion T-slot channel. The concept on the right requires that I purchase or mill a longer (vixen-style) dovetail bracket.
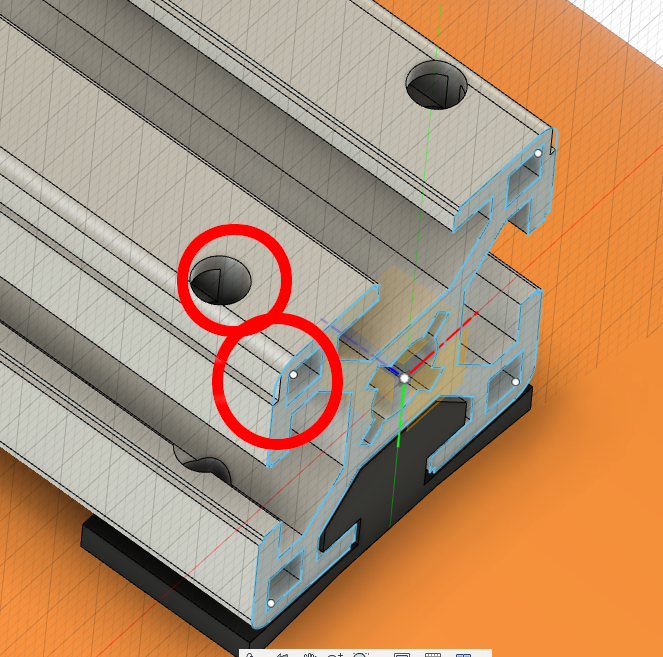
After 3D printing a scale T-slot and attempting to drill the holes, I discovered that this option was just too difficult. In order to get the T-slot to work, I would need to shave off 0.4 mm from the length of the T-slot and drill holes that would shave off just a little metal from the T-slot channel… neither of which would be easy for me to do using hand tools (see below)
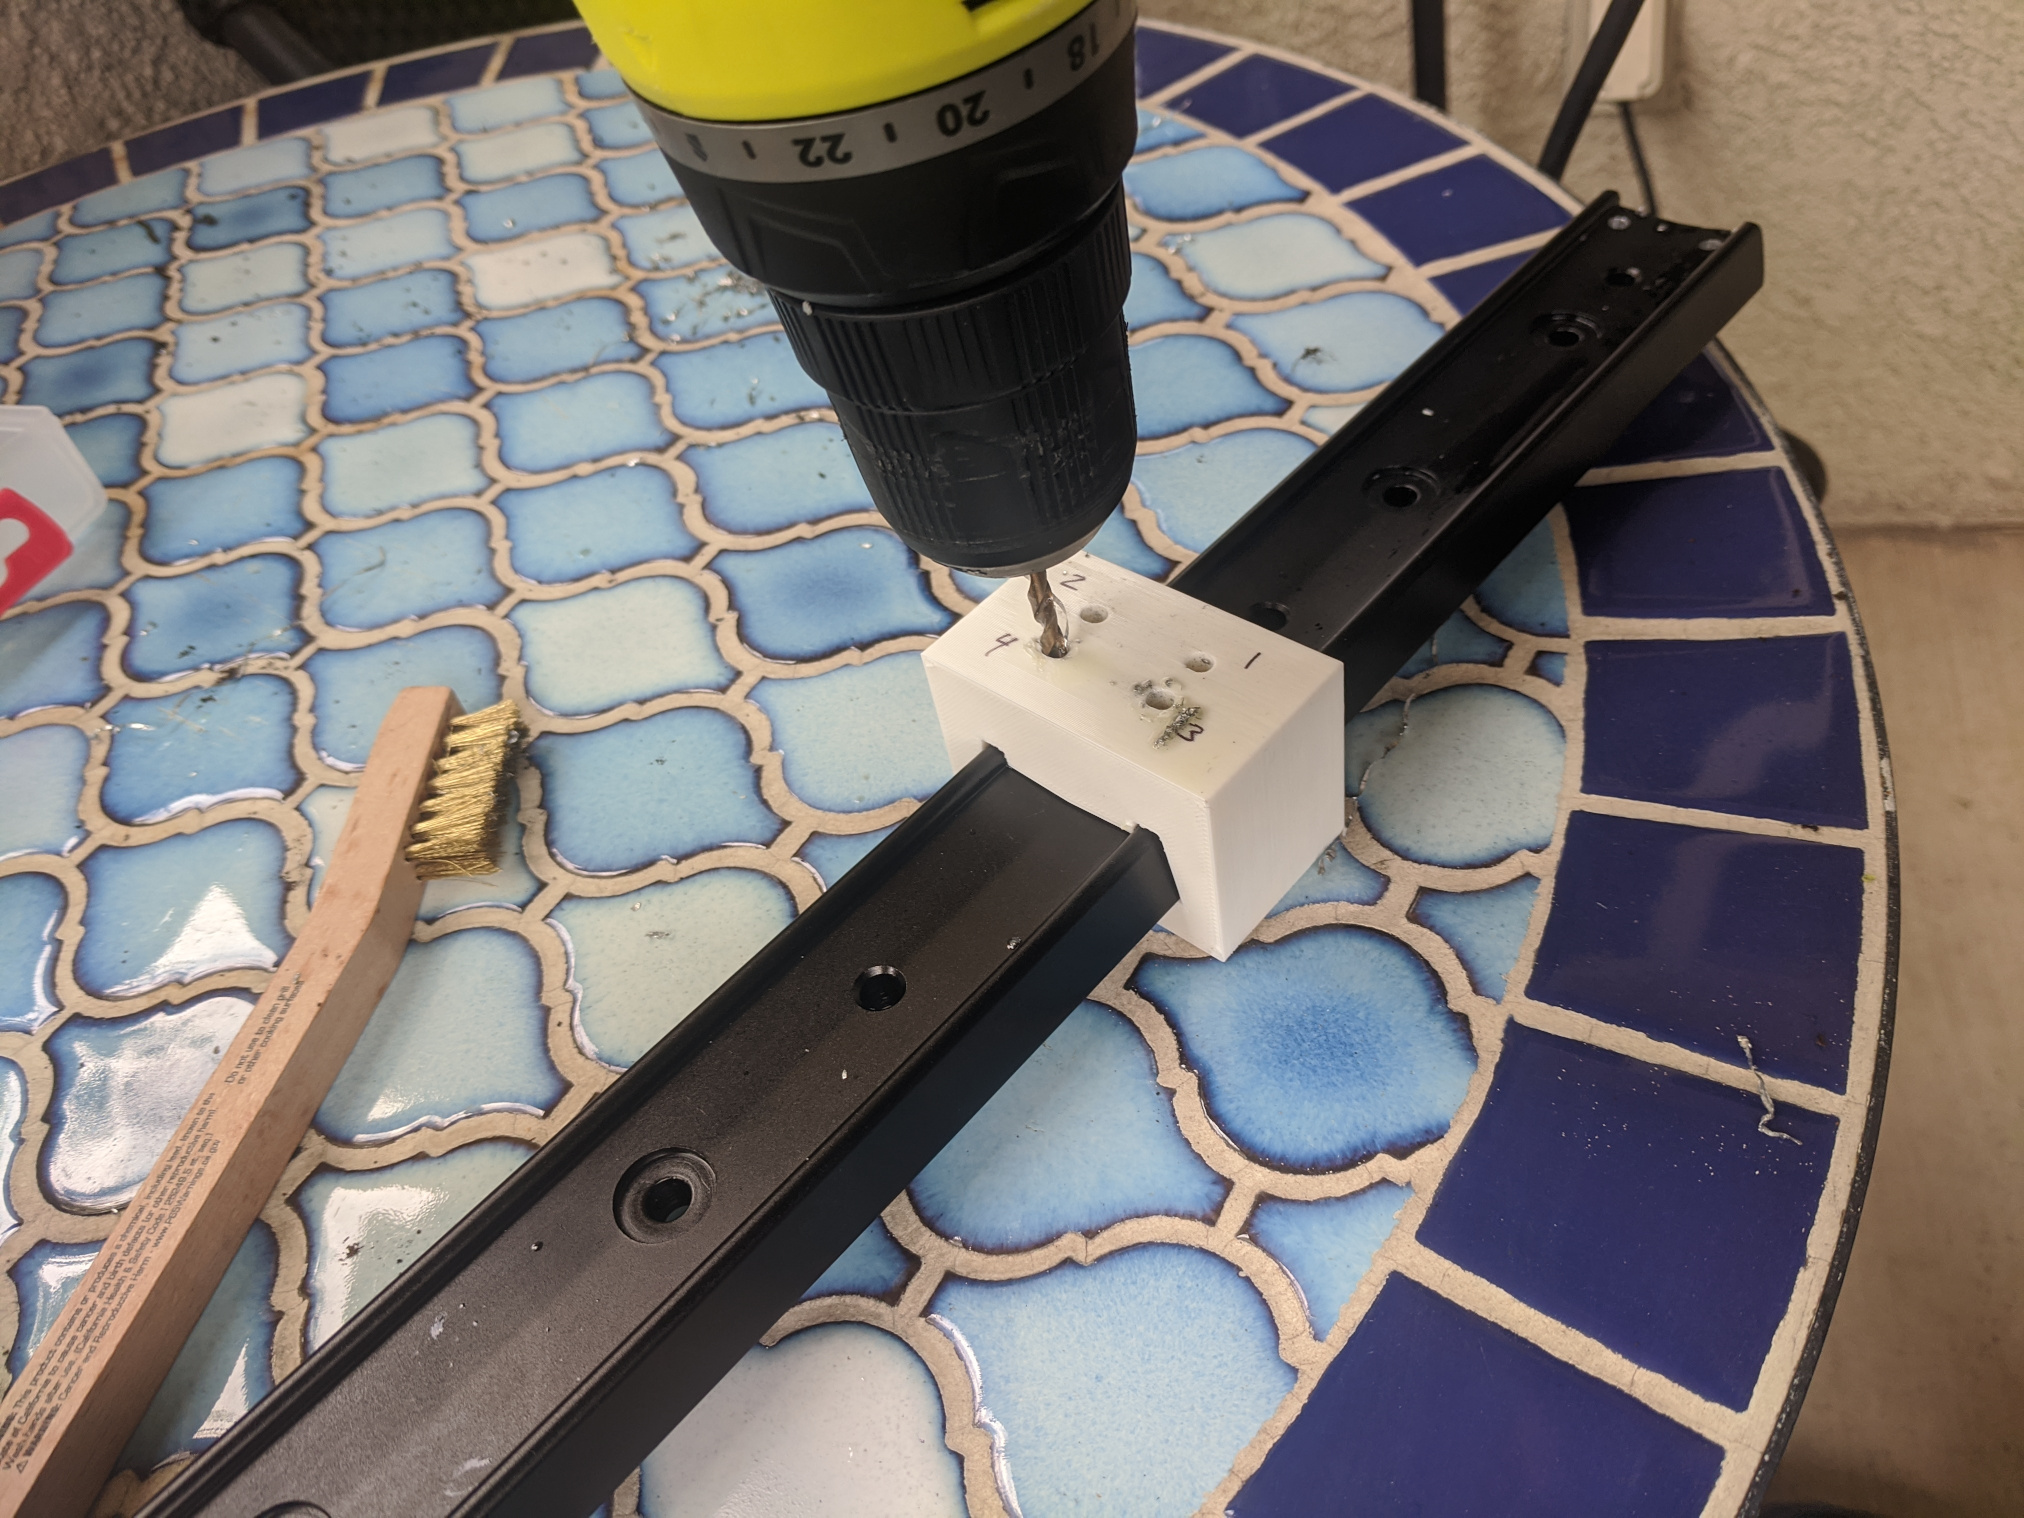
Because of this I elected to go down the longer dovetail route. A colleague of mine pointed out that the Orion 7382 guide scope mount was almost long enough for my use case so I gave it a go. After 3D printing a jig and drilling a few holes, I had my telescope re-mounted on the longer dovetail in no time.
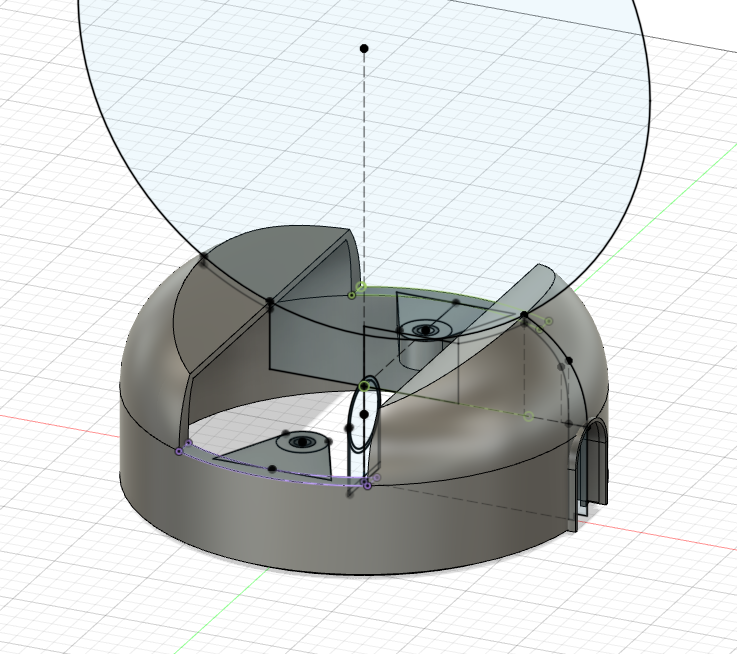
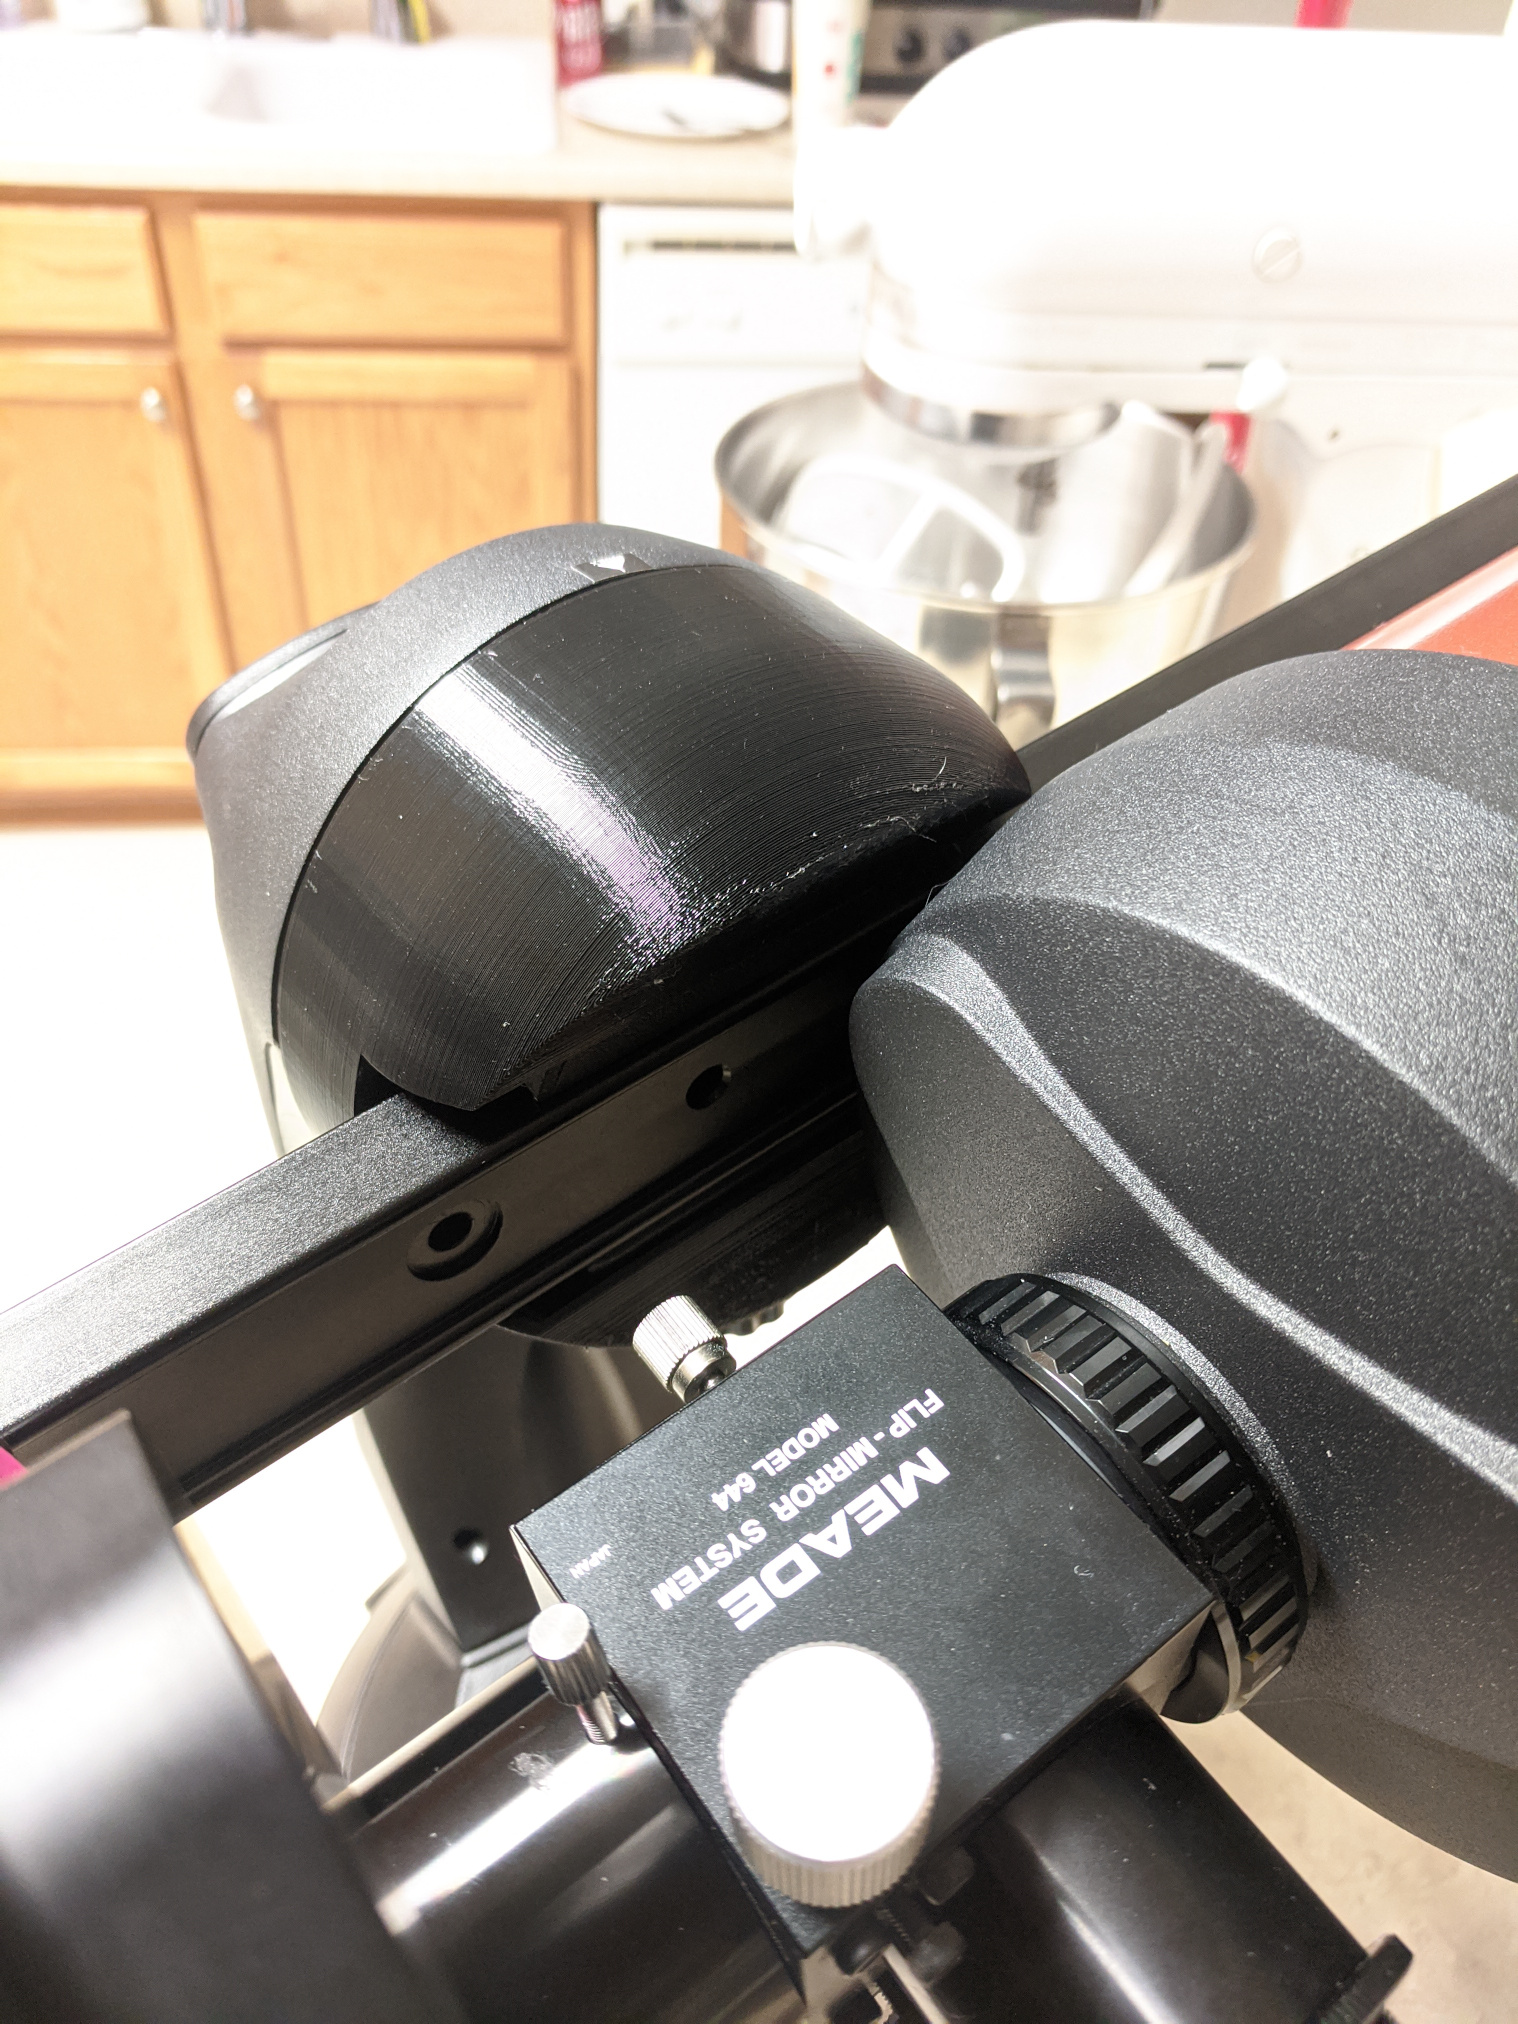
3D printed Azimuth drive cover
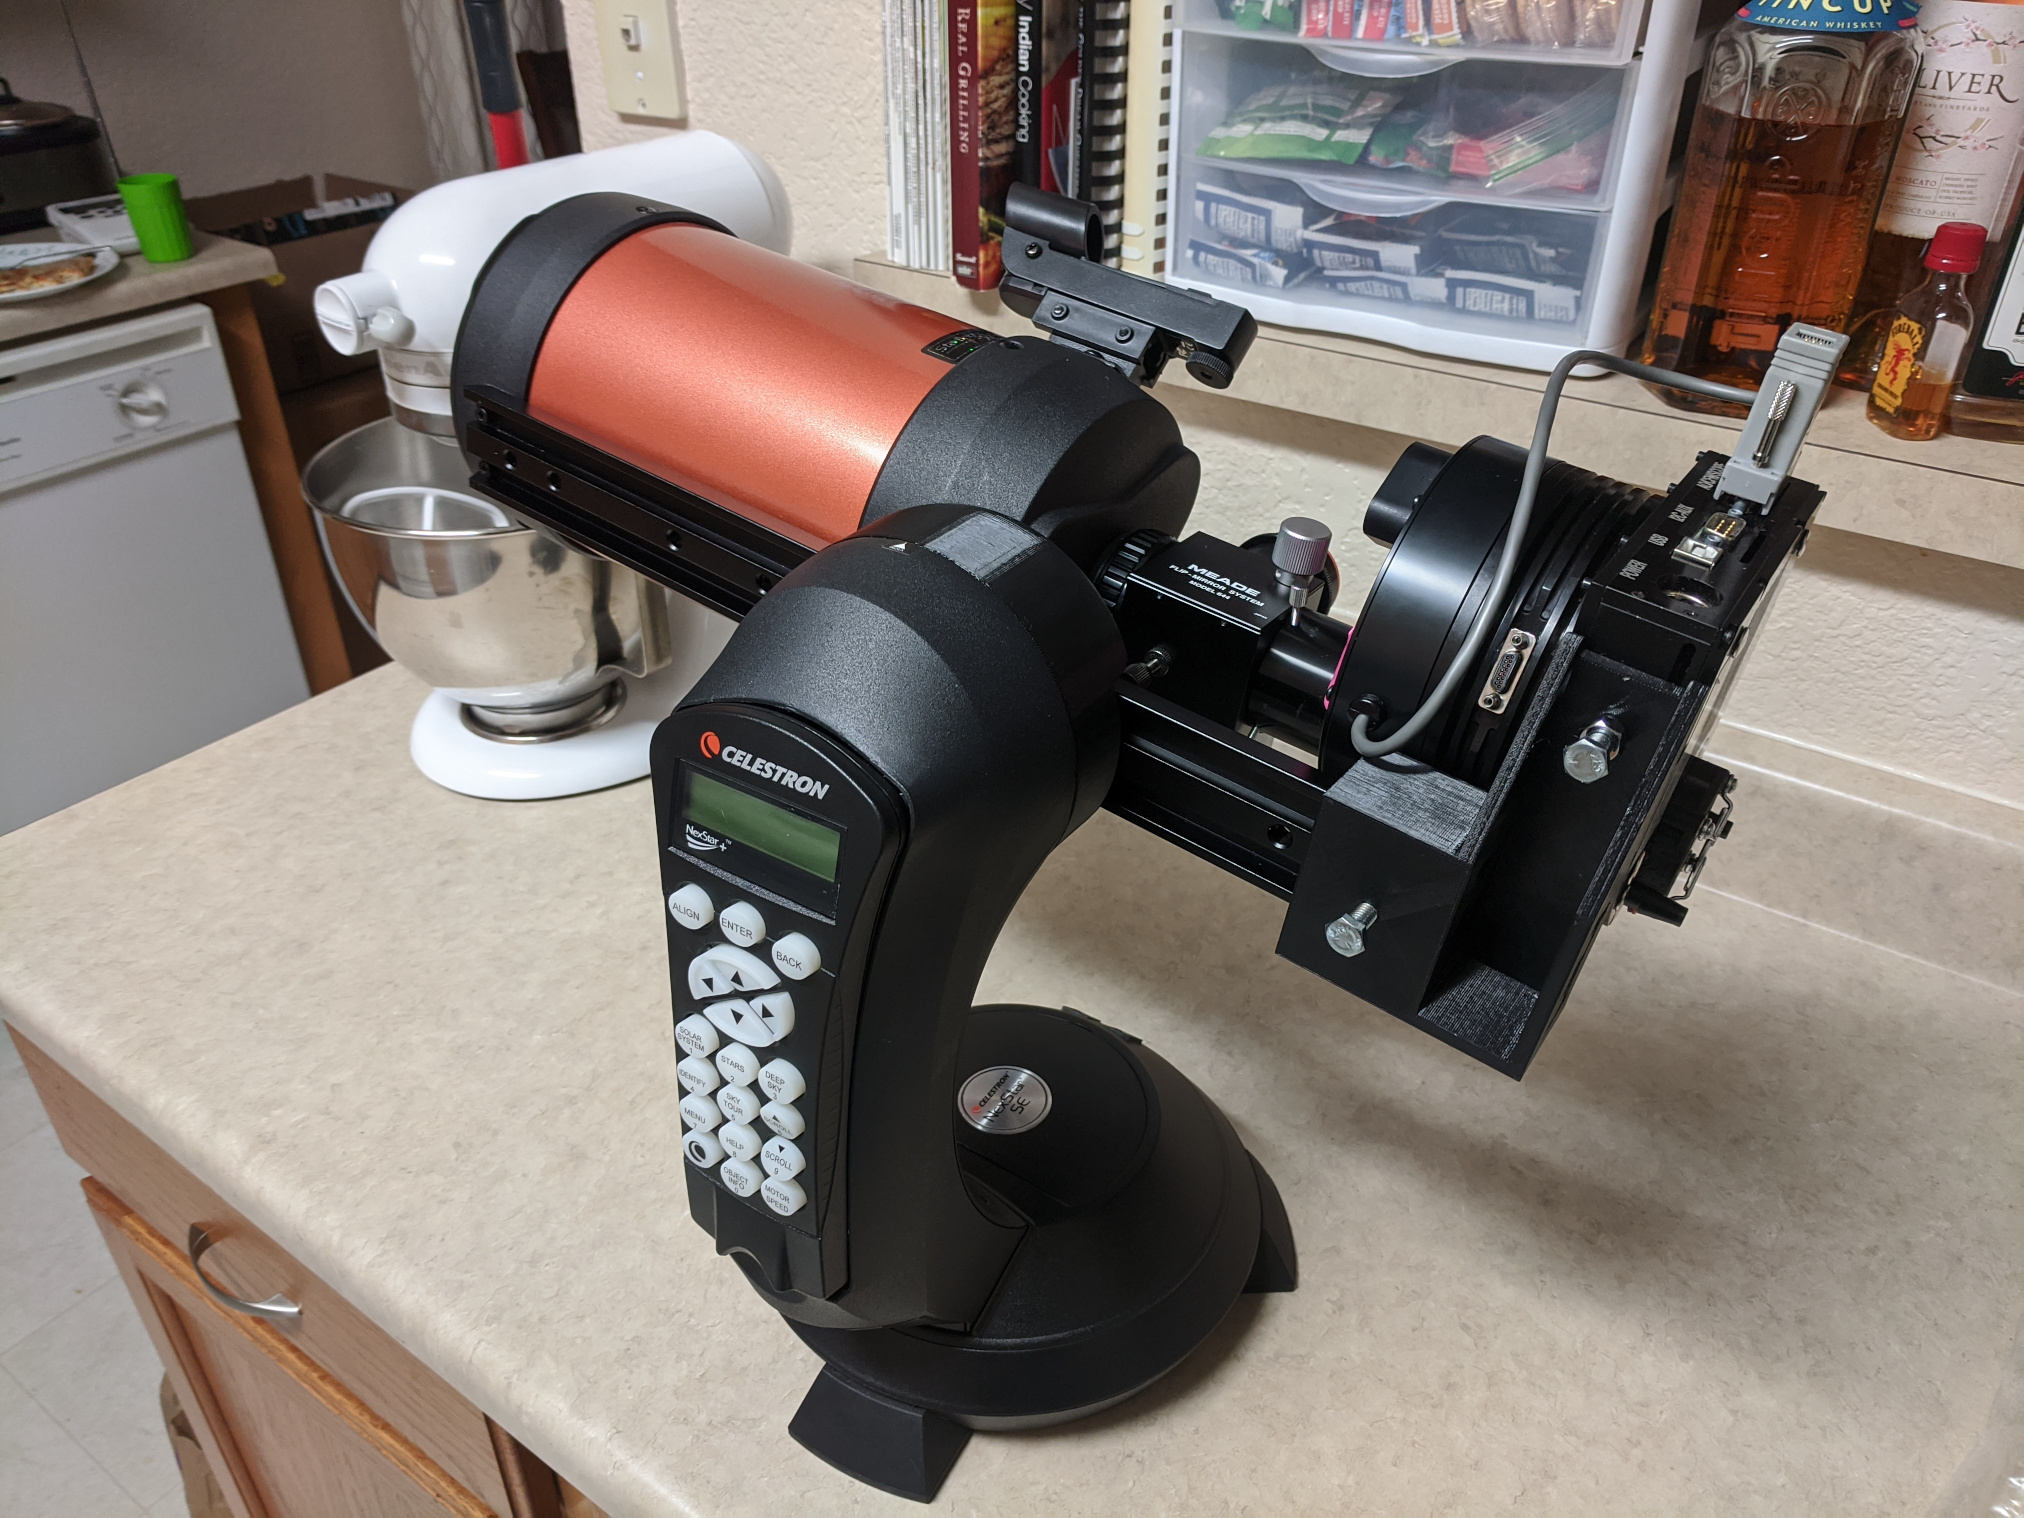
In order to move the resulting center of mass forward, I needed to design a new cover for the NexStar 5SE azimuth axis. After many measurements I mocked up a concept in Fusion 360, produced a test print in PLA, and printed a final cover in black PETG. It fits perfectly and lets my telescope slide forward far enough to shift the center of mass.

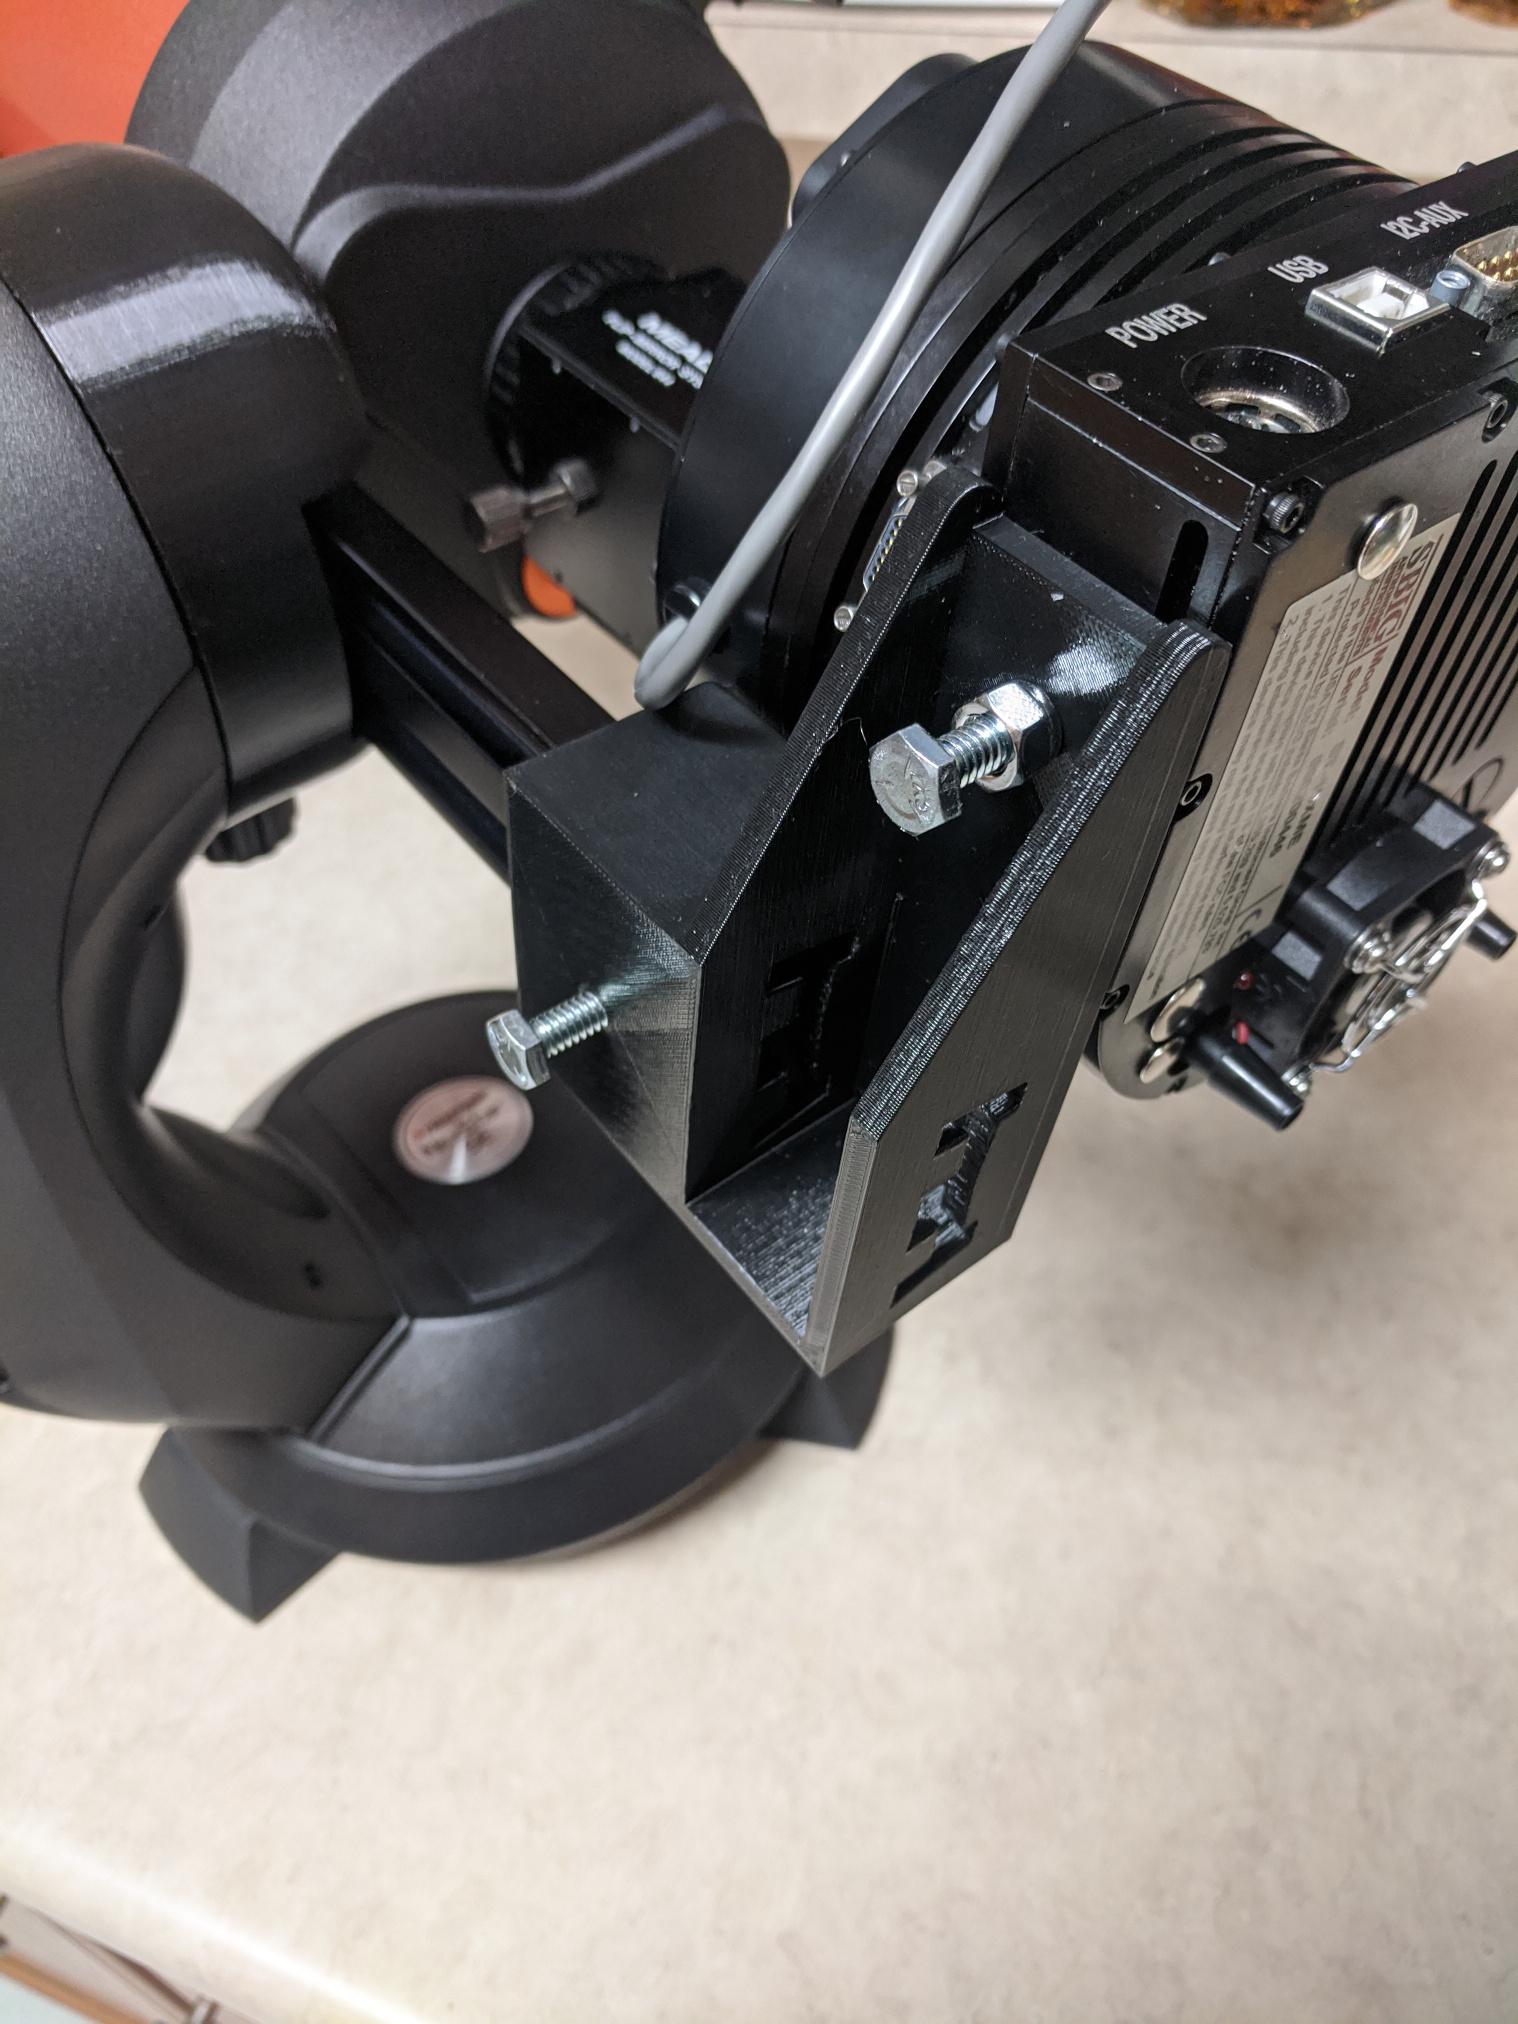
3D printed holder for the SBIG ST-10
Although not explicitly required, I also 3D printed a bracket to provide my SBIG ST-10 camera with a little additional support. I later replaced 1/4-20 bolts pictured below with 1/4-20 thumb screws.
Conclusion
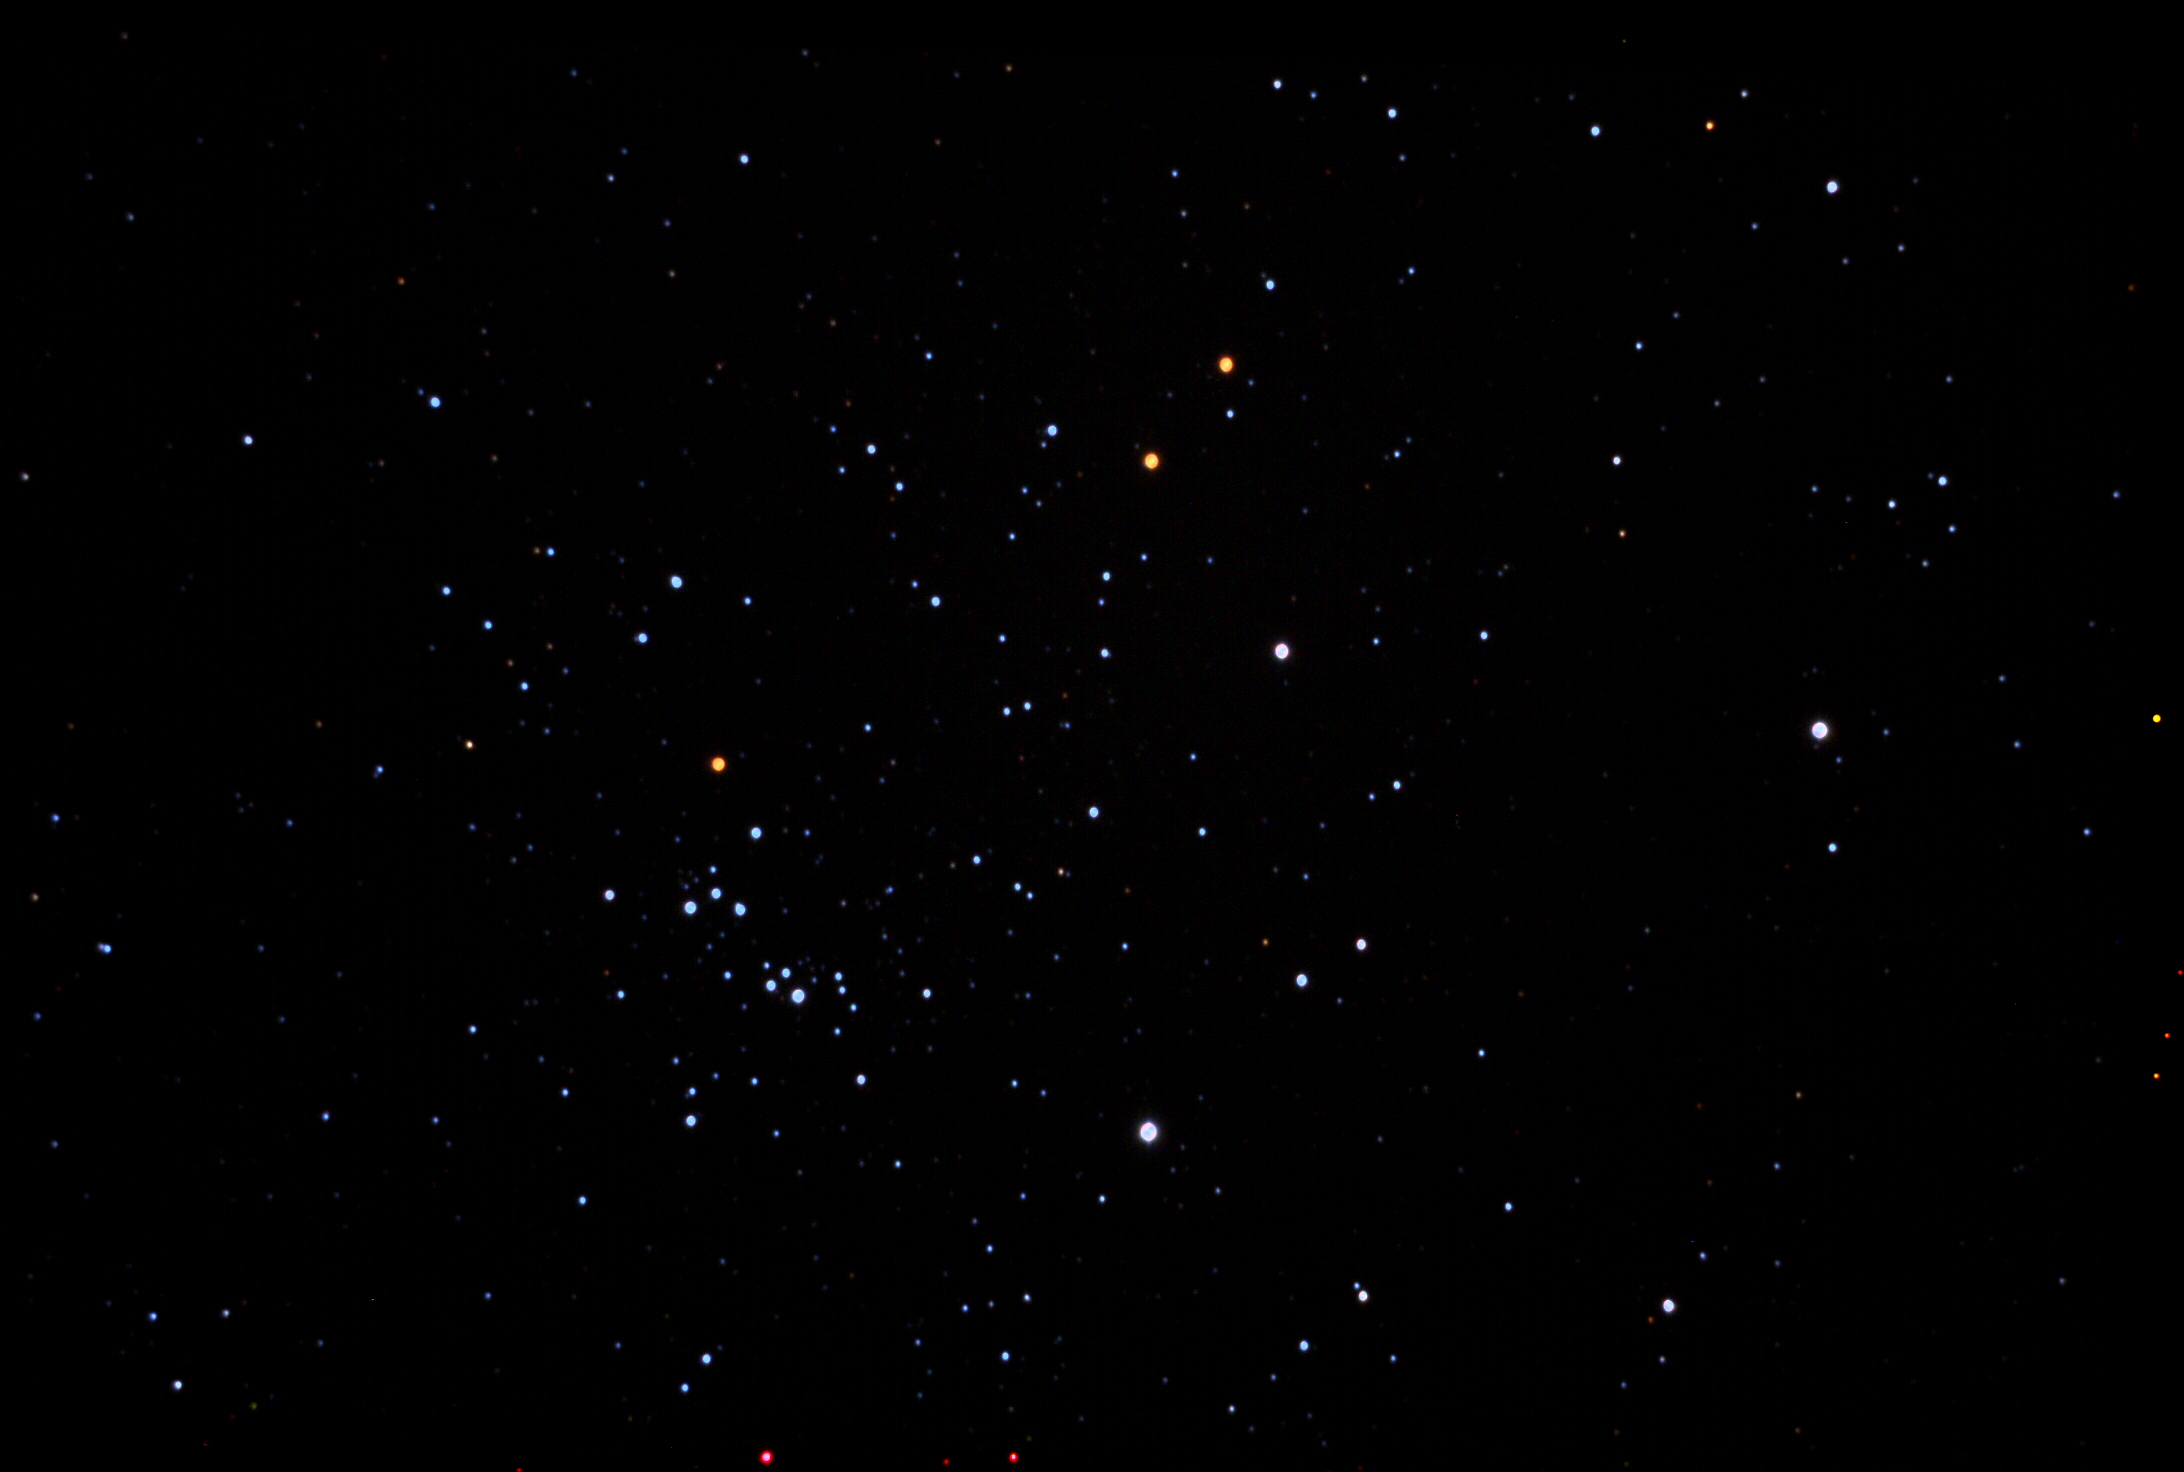
As my first major project 3D printing custom parts for astronomy, I’d say the result turned out nice. Not only does it solve the problem, but it also looks reasonably nice. One unanticipated benefit of doing this project was that it resolved a long-standing collimation problem I experienced due to mis-alignments of the optical axis when the camera was on the side of the tube. This is demonstrated quite nicely by the lack of coma in the Double Cluster image below.