High capacity patio drip irrigation system
2015 Aug 20 -
Background
During graduate school my wife and I had an awesome apartment that featured a wonderfully large, 8 x 30 foot deck on the 8th floor of an apartment building. The deck provided us with a lovely view of the nearby Rocky Mountains, but it was on the north side of the building so it didn’t get the most amount of sunshine. Nevertheless, I started gardening. It was one of the few activities I did outside of solving physics problems at the time so it served as a nice hobby with tasty rewards.
For my garden I purchased a pair of City Picker patio boxes. These units feature about 3 cubic feet of soil plus a small water reservoir capable of holding about two gallons. This was ideal for being a first time gardener since I often forgot to water the plants when I got home from a day at school. I grew tomatoes and lettuce in one picker and strawberries in the other. Unfortunately I only got one harvest before we moved to Germany.
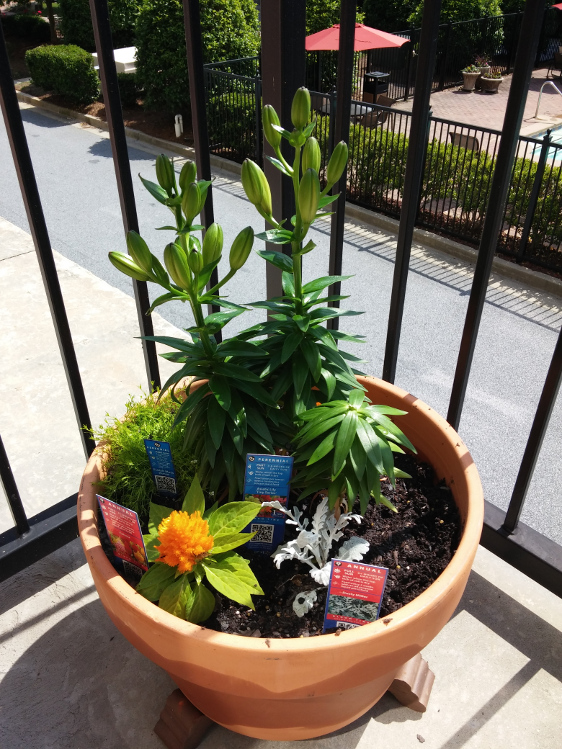
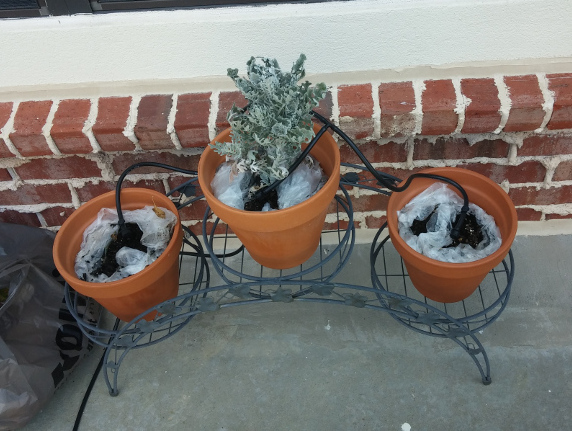
Fast forward three years and my wife and I moved into an apartment with another spacious deck. While my wife dreamed of a nice bistro, set I dreamed of a new luxurious patio garden. I dusted off the old city pickers and went to Lowe’s and Home Depot to pick up some clay pots. After a few more trips to Lowe’s and Walmart, I had outfitted the clay pots with a nice arrangement of flowers and prepped the City Pickers for planting later.
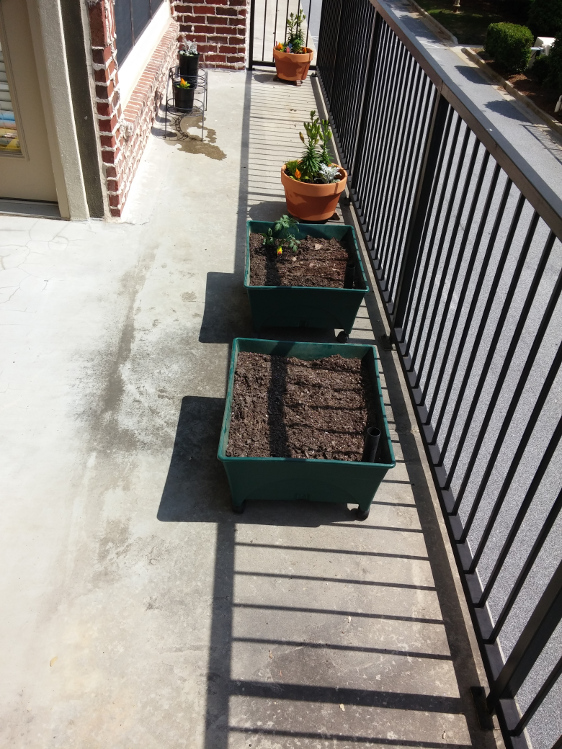
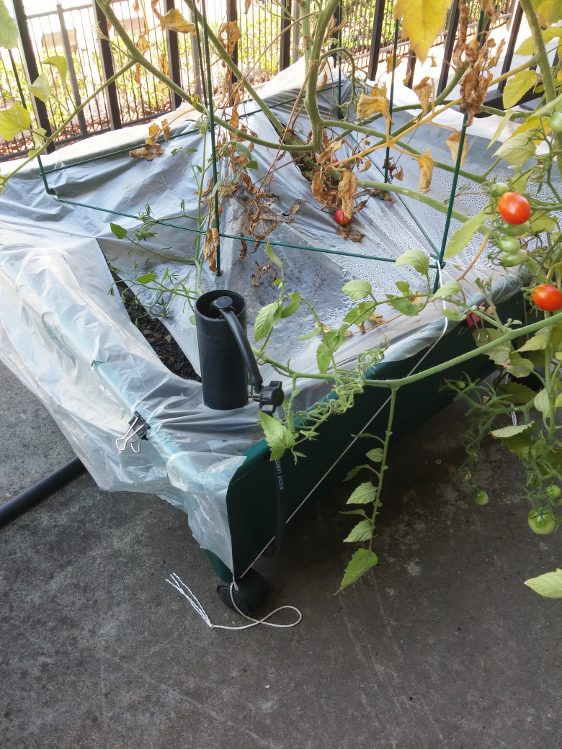
Later I filled one of the City Pickers with a cherry tomato plant and the other with a mixture of lettuce and spinach. The tomatoes did very well, producing some 6-8 pounds of cherry tomatoes. The lettuce also faired well too, but it became bitter after several weeks of growing. The spinach was an utter disaster. The plants germinated, and grew to be a few inches tall, but then they started to wilt. I suspect this is because I started the garden too late in the season, thus subjecting the spinach to the worst of the summer heat here in Atlanta.
Our plants required a total of 2-3 gallons of water each day. When mid-summer hit and my wife wanted take a 10-day vacation, I realized I had two options: either let the garden fail or figure out some intelligent way to ensure it is properly watered. Clearly I picked the latter. Like many apartments, we do not have a spigot on our deck, so traditional timer-based systems were not really an option. We live fairly far away from most of our friends and coworkers, thus it didn’t seem reasonable to ask someone to drive 30 minutes round trip for only a few gallons of water. I researched existing patio watering kits like the Claber Oasis automatic drip irrigation system and some other self watering kits; however, none of them had the required 20-30 gallon capacity I required. Time to get clever.
Drip, drip, drip
After doing much research on drip irrigation systems I came up with a solution: I would build my own high capacity drip irrigation system. More research revealed that most drip irrigation systems are designed to operate with at least 15 PSI pressure (or sometimes more). Without access to a spigot my only options were to elevate the water or buy a pump. Because hydro-static pressure increases linearly with height, I would need to elevate the water by more than 10 meters (roughly 30 feet) in order to get 15 PSI. That option was out. After looking into pumps and deciding I didn’t want to spend $50 - $100 on a pump I considered how I could use drip irrigation hardware at even lower pressures.
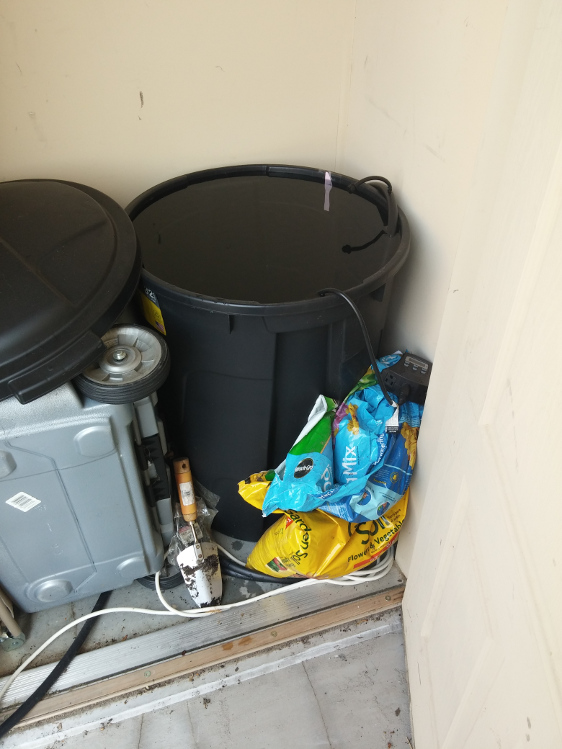
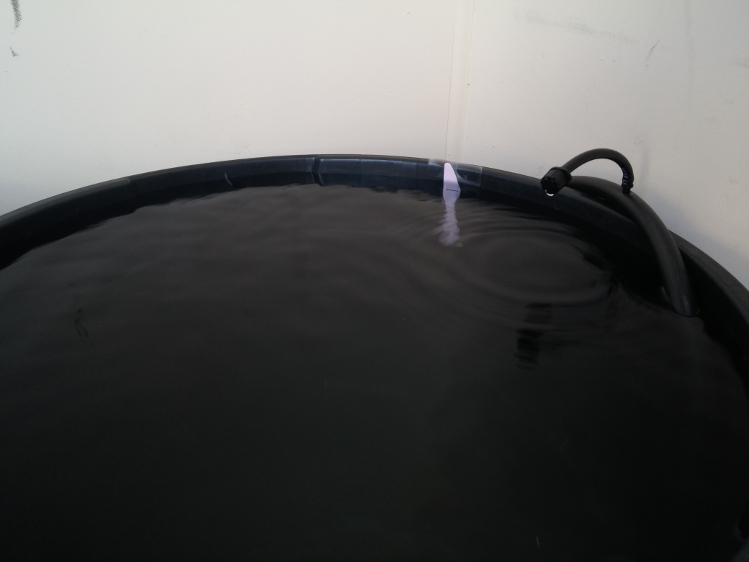
My solution was simple: to get the water storage capacity I required, I would use a heavy duty 32 gallon trash barrel. Then I would just need to lift the water over the edge of the barrel to yield about 1.4 PSI. This requires only a small (and inexpensive) fountain pump. Most fountain pumps move 140 or more gallons of water per hour, thus to ensure I dispense no more than 2-3 gallons total I would need an electric timer with minute level accuracy. Finally to regulate the flow to each plan I would use a series of valves.i Sounds simple, right?
Supplies and assembly
So I went back to Lowe’s and Home Depot and picked up the necessary supplies. It was pretty clear that I wouldn’t have enough water pressure for any of the fancy spinners or self-regulating drippers so I purchased only things which I could regulate manually. For a total of $83 I had everything I needed:
| Item | Cost |
|---|---|
| 32 gallon trash can | $16 |
| 50 ft. of poly tubing | $8 |
| 50 ft. of distribution tubing | $8 |
| Barb connector | $2 / 10 |
| Figure-8 Hose end closure | $2 / 5-pack |
| Tubing stakes | $3 / 10-pack |
| Adjustable drippers | $5 / 10 pack |
| 1/4" in-line shut off valve | $2 / 2-pack |
| 140 GPH Fountain pump | $20 |
| Outdoor electric timer | $17 |
| Total: | $83 |
Unfortunately I didn’t take photographs during assembly so I’ll describe the process quickly. The fountain pump connects to 3/8" or 1/2" inner diameter tubing; however, drip irrigation tubing has a slightly larger inner diameter. So I simply applied a liberal coating of hot glue to the adapter included with the fountain pump before inserting the adapter into the end of the drip tubing. The seal was good enough and it was leak free. After this it was simply a matter of hooking up all of the drip irrigation system and running lines to every plant. There are plenty of instructional videos for this process (i.e like this one from drip depot) so I won’t bore you with any details.
Regulation and testing
The only significant deviation from my setup and a traditional drip irrigation system is that every outlet has a valve. This enables fine grain control of the watering rate at each source. Because I had previously established that I use 2-3 gallons of water per day (split about 5/6 gal for each city picker, 1/3 gal for each of the three large clay pots, and the remaining 1/3 gallon for the three small pots) it was pretty easy to regulate the system.
I set every emitter and valve to be 50% open. (The emitters have a nice tactile bump when you rotate the cap so it is pretty easy to count, divide by two, and then close the emitter to the correct level.) Then I turned on the pump and ran it for 5 minutes, collecting the water from every outlet into several one gallon jugs as shown below:
I repeated this process two or three times until the dispensed water came out in ratios that matched the desired rates. Then simply measured the total dispensed water and found out I needed to run the system for about 20 minutes to dispense 3 gallons daily.
Success! I was done! I ran the system for several days…
But something sucked
From my previous testing I knew I should dispense about 3 gallons of water per day. After letting my system run for a week on its own, I was somewhat shocked to find out that I had used 30 gallons of water instead of 21! What gives?
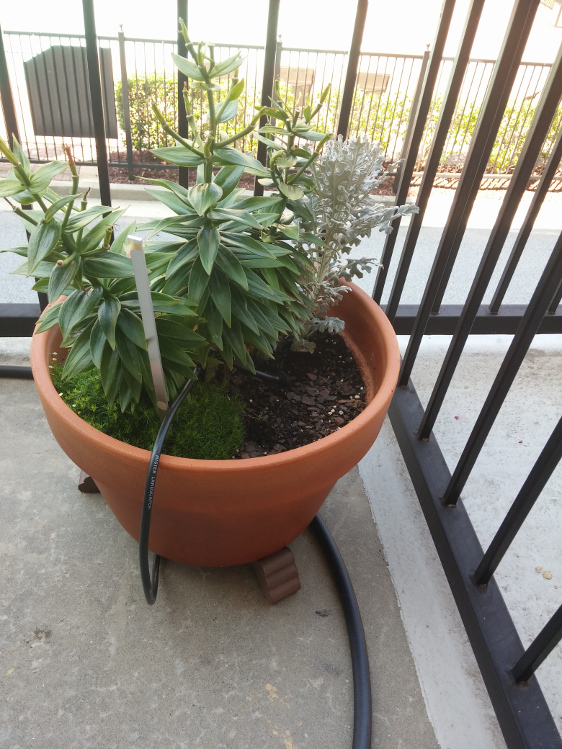
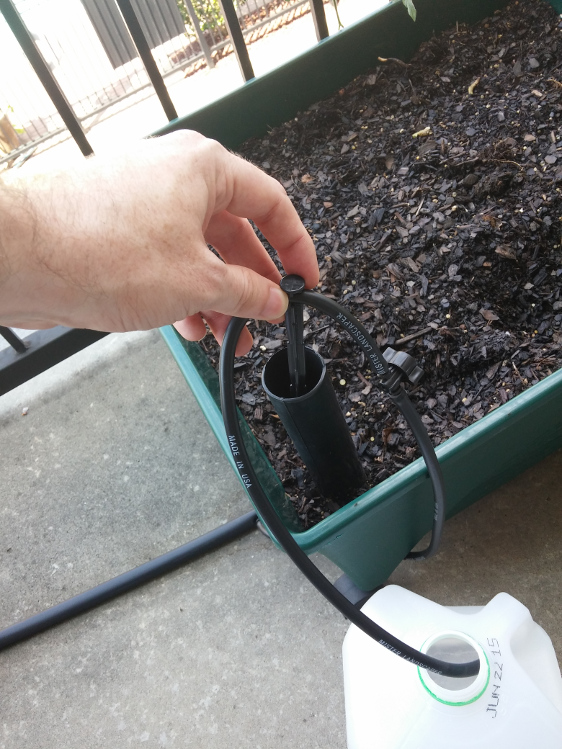
Thinking I had mis-calculated I re-ran the system. Upon shutting off the pump I noticed the water continued to dispense for a minute or so. There it was. The water was being siphoned! Fortunately this was an easy fix. I added a small chunk of hose and a variable drip emitter where the main supply cable went over the rim of the trash barrel
With this small change I dispense nearly the precise amount of water I need on a daily basis.
Conclusion and improvements
The high capacity drip irrigation system holds 32 gallons of water and dispenses 2-3 gallons per day to my plants. If you need more capacity, you could simply add more trash barrels and connect them at the bottom as is commonly done with rain barrel systems (e.g. as shown here).
My only dissatisfaction with the system is the (very) low flow rate. At the moment I have the variable drippers configured to dispense drops of water rather than streams of running water. Although this lets me dispense the water very precisely, it comes with the negative effect that the water does not spread out very well within the soil. I could try increasing the flow rate at each emitter, but with only 1-2 PSI coming from gravity and the water pump, it isn’t clear how much the system can allow. It might be advantageous to get a higher capacity fountain pump, but the cost of fountain pumps increase quite rapidly:
| GPH | Max Height (ft) | Pressure (PSI) | Cost |
|---|---|---|---|
| 80 | 2.5 | 1 | $19 |
| 140 | 4.1 | 2 | $20 |
| 300 | 7.2 | 3 | $30 |
| 500 | 8.7 | 4 | $42 |
| 1400 | 10.2 | 5 | $119 |
If you really need more water capacity, it might be best to purchase a submersible sump pump or a general purpose utility pump which can generate 15 or more PSI quite easily.