Create a fisheye horizon landscape for Stellarium
2023 Dec 03 - Brian Kloppenborg
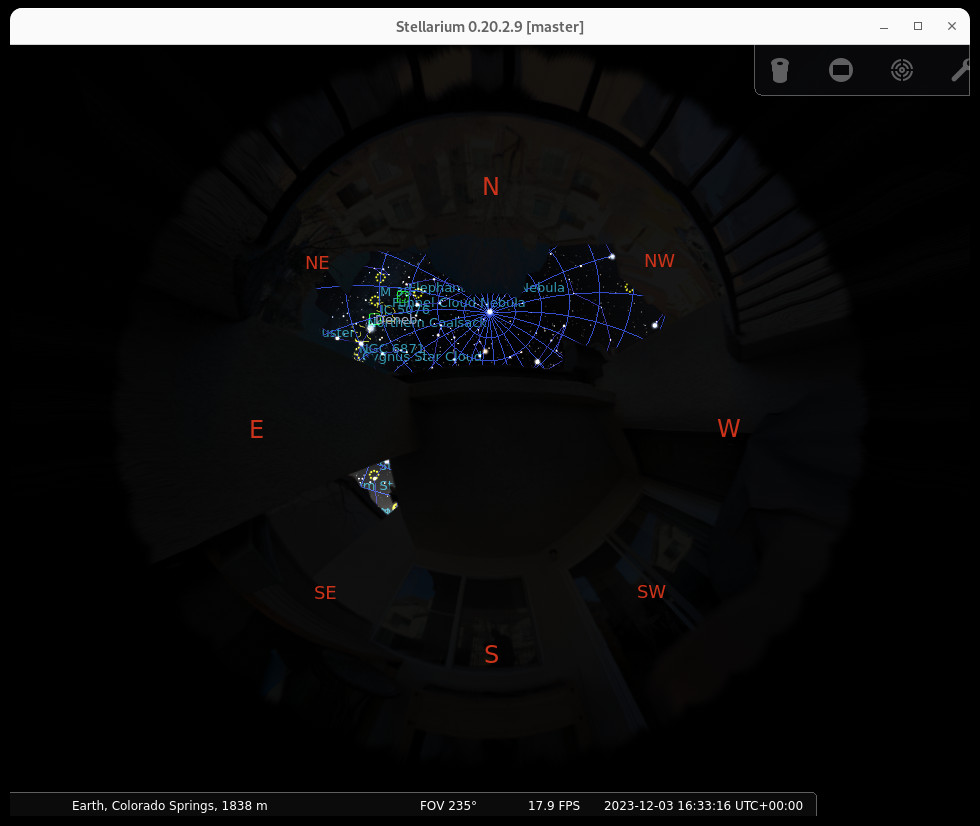
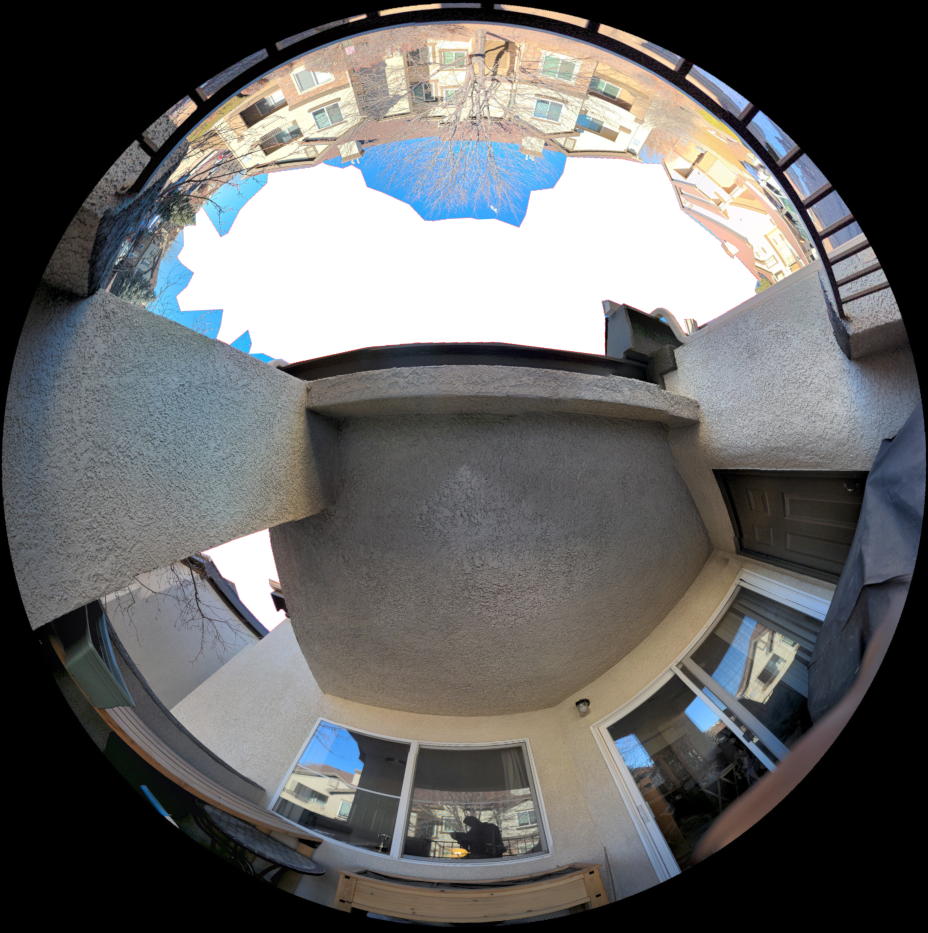
In this blog post I explain how to use your mobile phone and some cross-platform software to create a custom fisheye landscape for Stellarium. This form of landscape is exceptionally useful for planning observations from less-than-ideal observing locations. For example, I observe from my condo’s covered patio. As shown in the image below, my field of view is restricted by the patio ceiling, roof overhangs, gutters, downspouts, trees, and nearby buildings. Creating this projection map in Stellarium allows me to quickly check if a given object is observable without having to use complicated tools.

Creating a landscape like this isn’t too difficult. The steps are as follows:
- Create a panorama or photosphere of your observing location.
- Use Hugin to change the projection method
- Edit the image to make sky regions transparent
- Create a new landscape for Stellarium.
- Activate the landscape within Stellarium.
1. Create a panorama or photosphere of your observing location
The precise method for how to do this is beyond the scope of this blog post. With that said, there are multiple ways to do this:
- Sitching together photos to form panoramas using Hugin,
- Creating photo spheres using Android’s default photo application, or
- Creating photo spheres using the Photo Sphere application for iOS
In all situations, create a photosphere from the horizon upward only. Once you’ve done this, save the photosphere to your local computer so we can make some changes in the next step.
2. Use Hugin to change the projection mode.
The following instructions are written for Hugin 2022.0.0.a0962865f932. Earlier or later versions may require slight changes.
After installing Hugin on your computer, launch the software and perform the following steps:
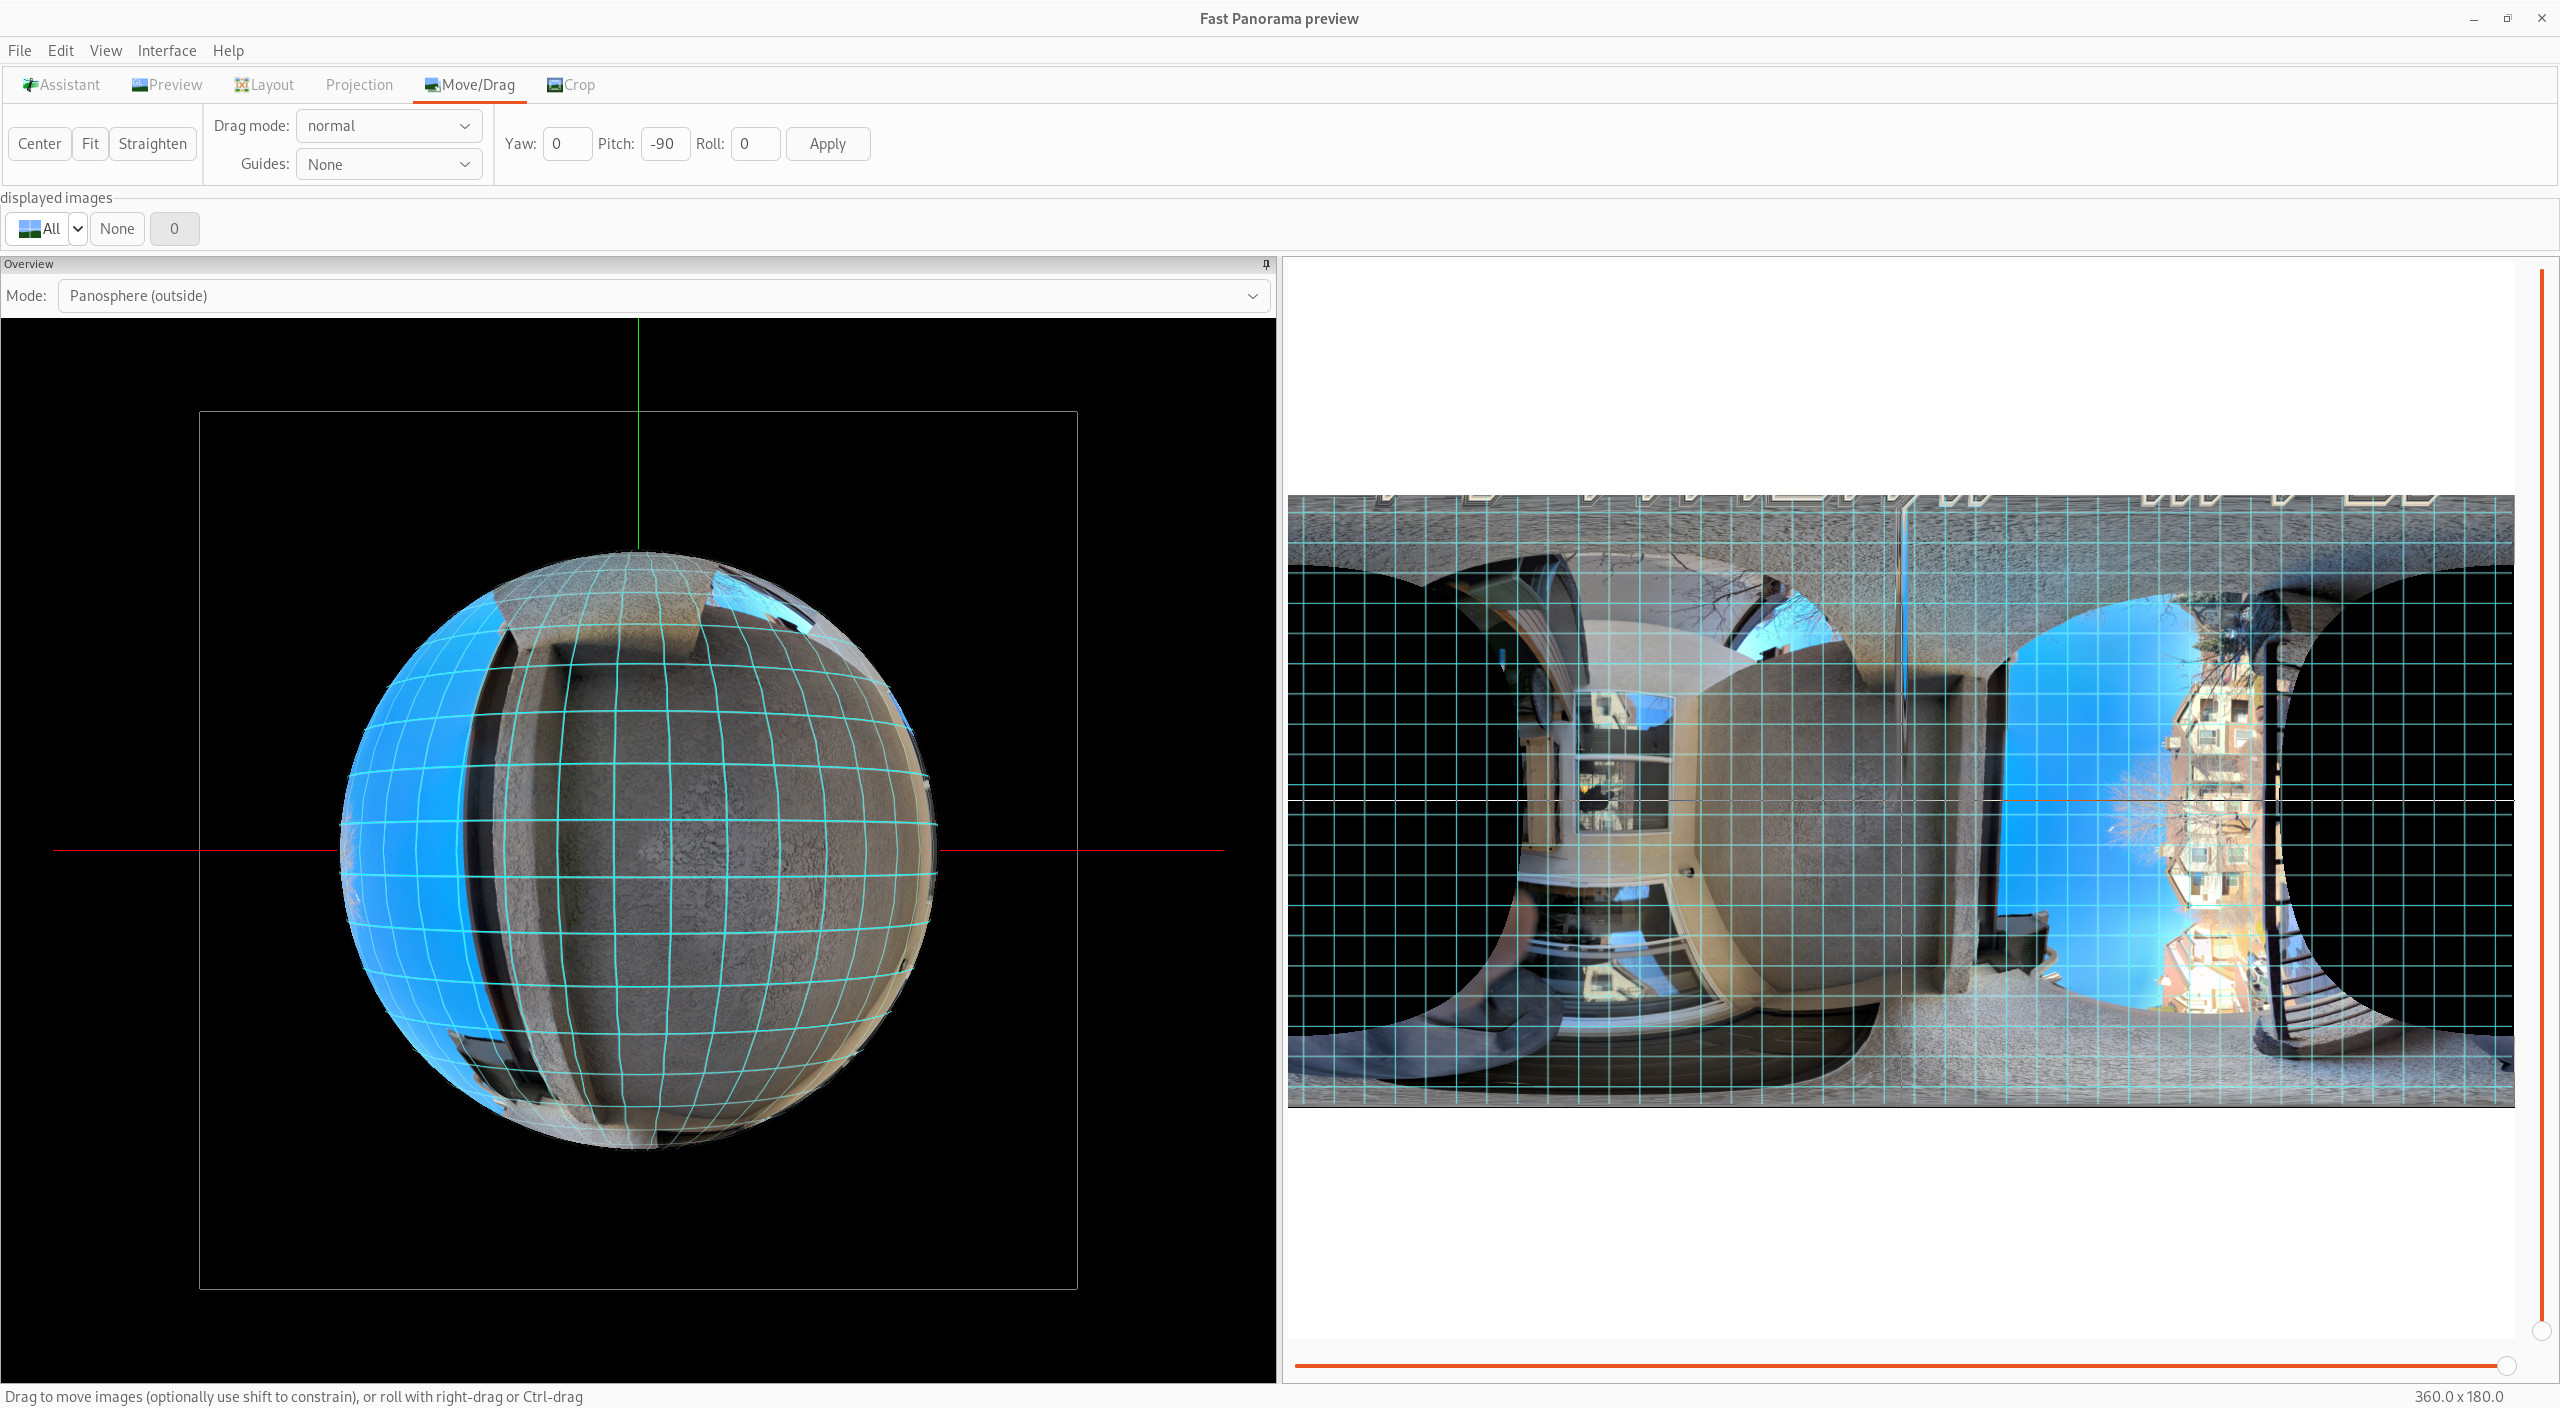
- In Hugin, click “Load Images” and select your panosphere file.
- In the “Move/Drag” tab, change the Pitch to -90 degrees and click “Apply”. This should rotate the previewed image so that the Zenith is up in the preview.
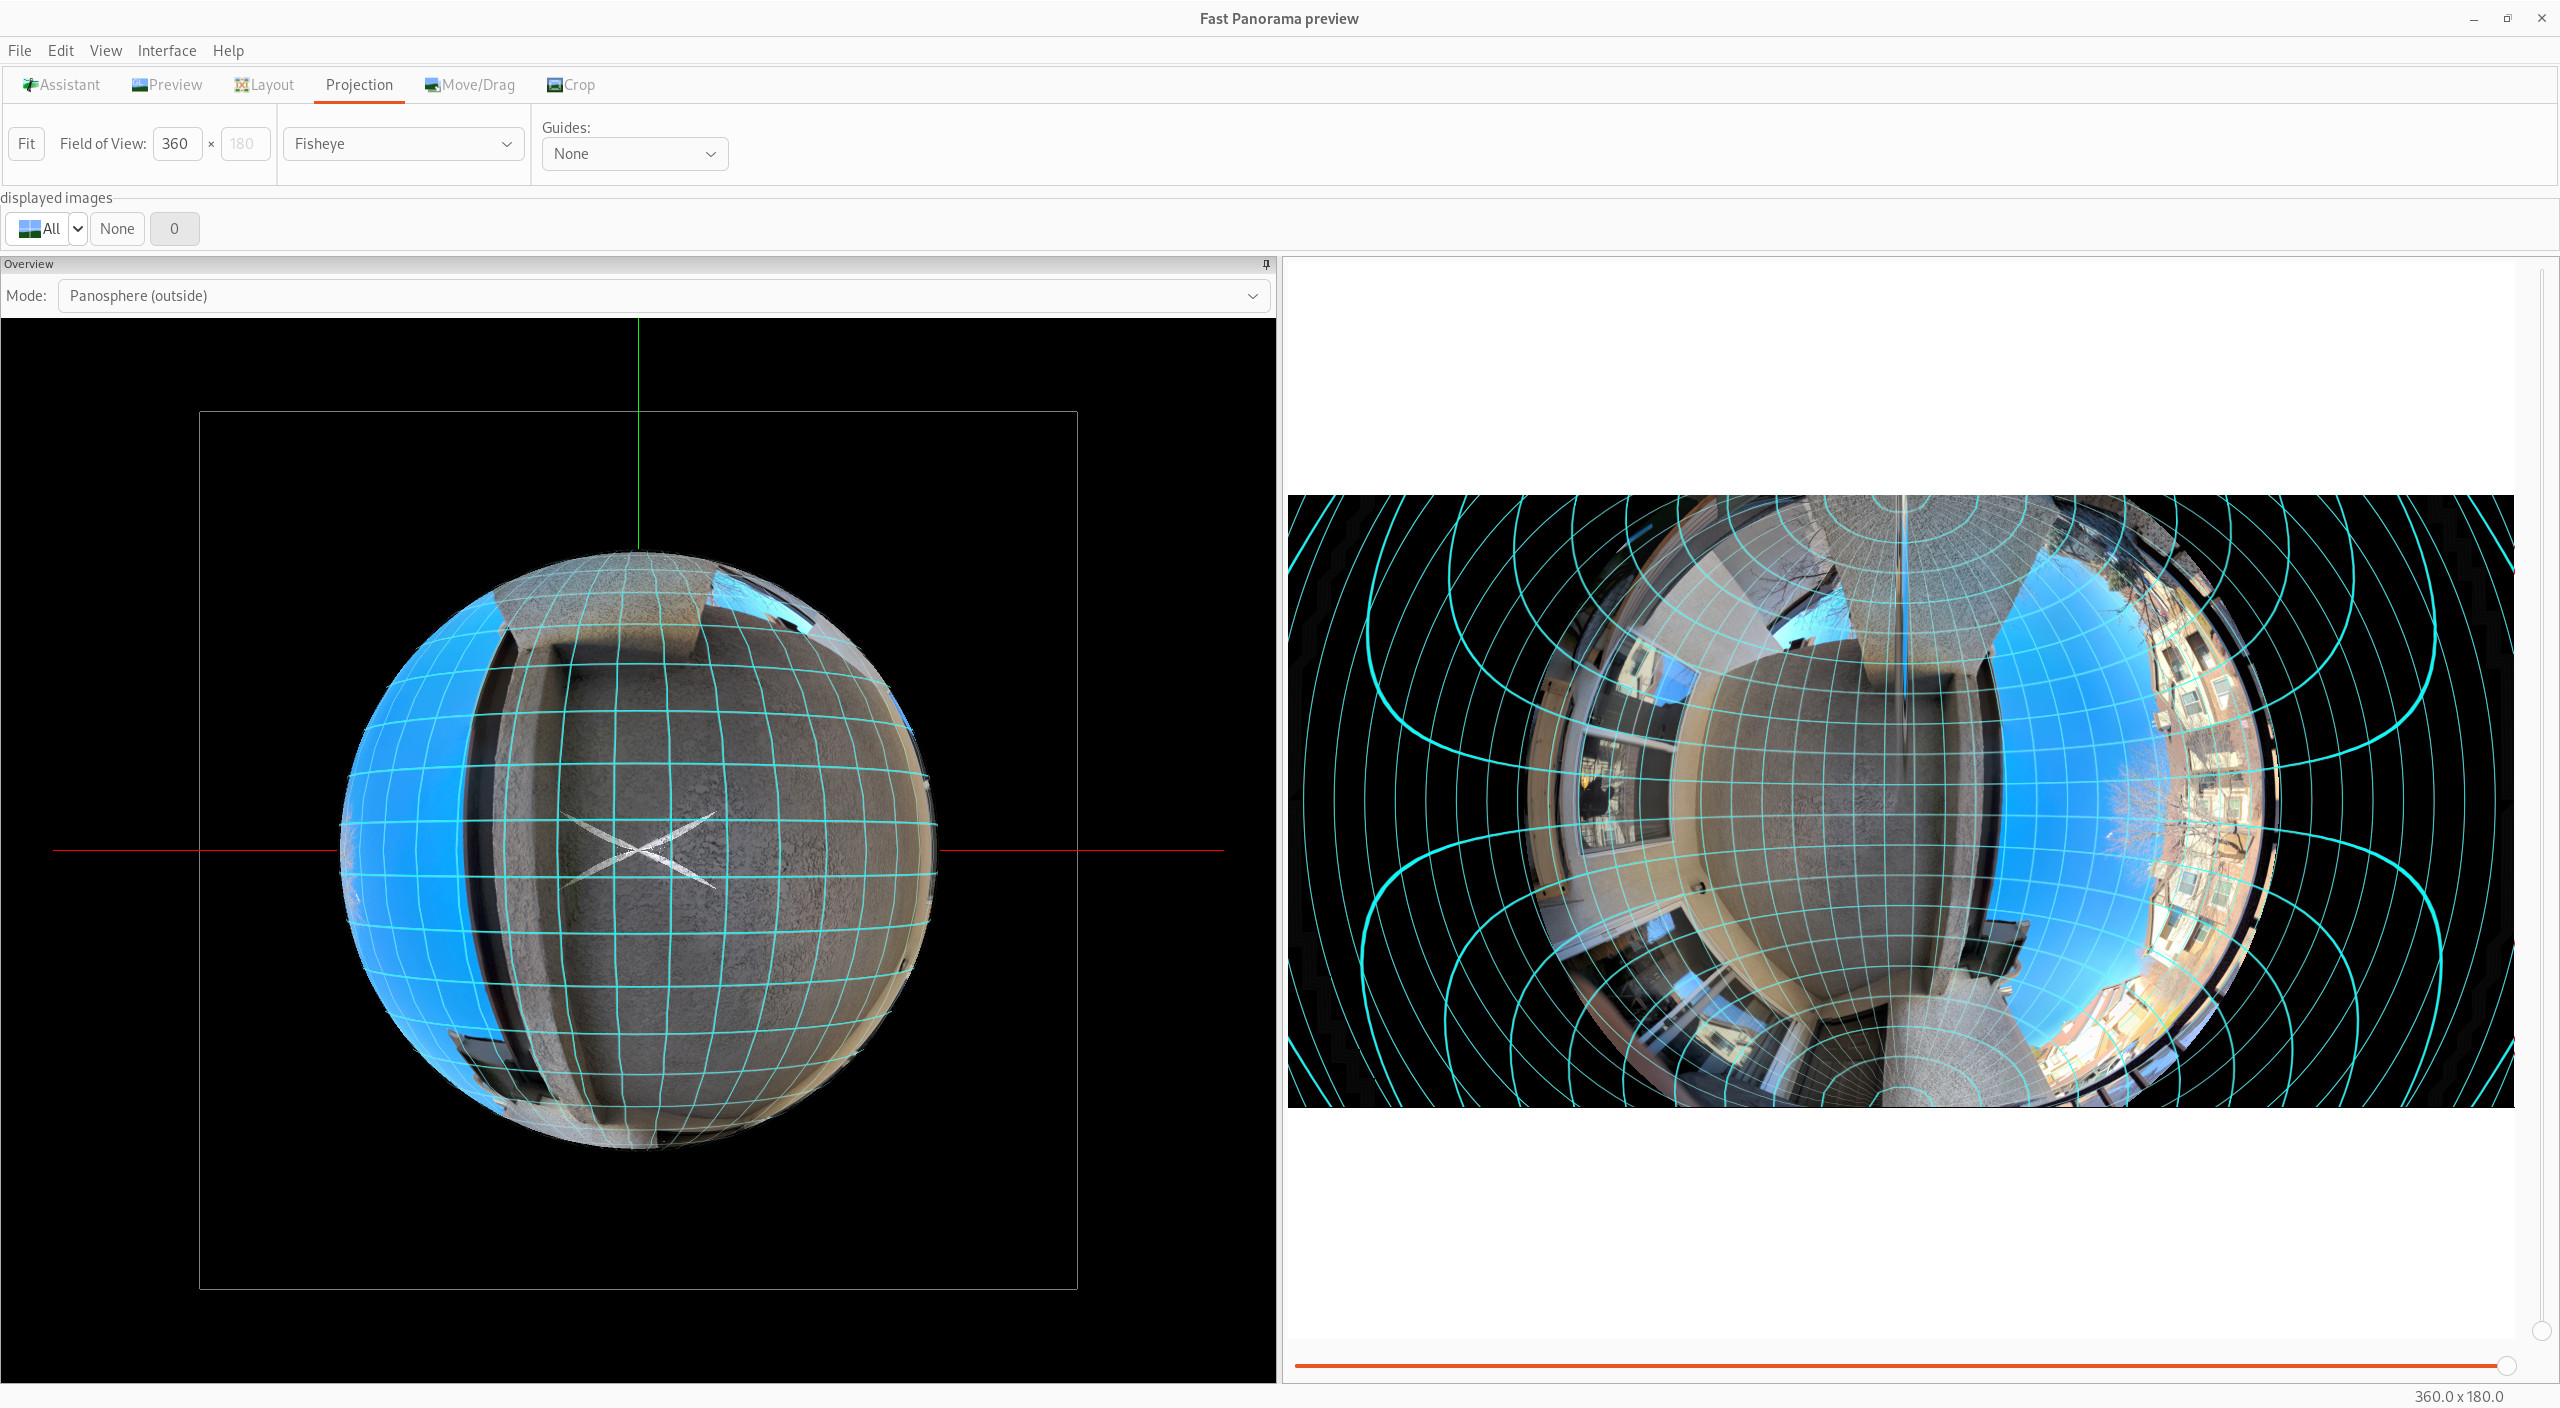
- In the “Projection” tab select “Fisheye” from the drop-down menu. Then click the “Fit” button in the Field of View box.
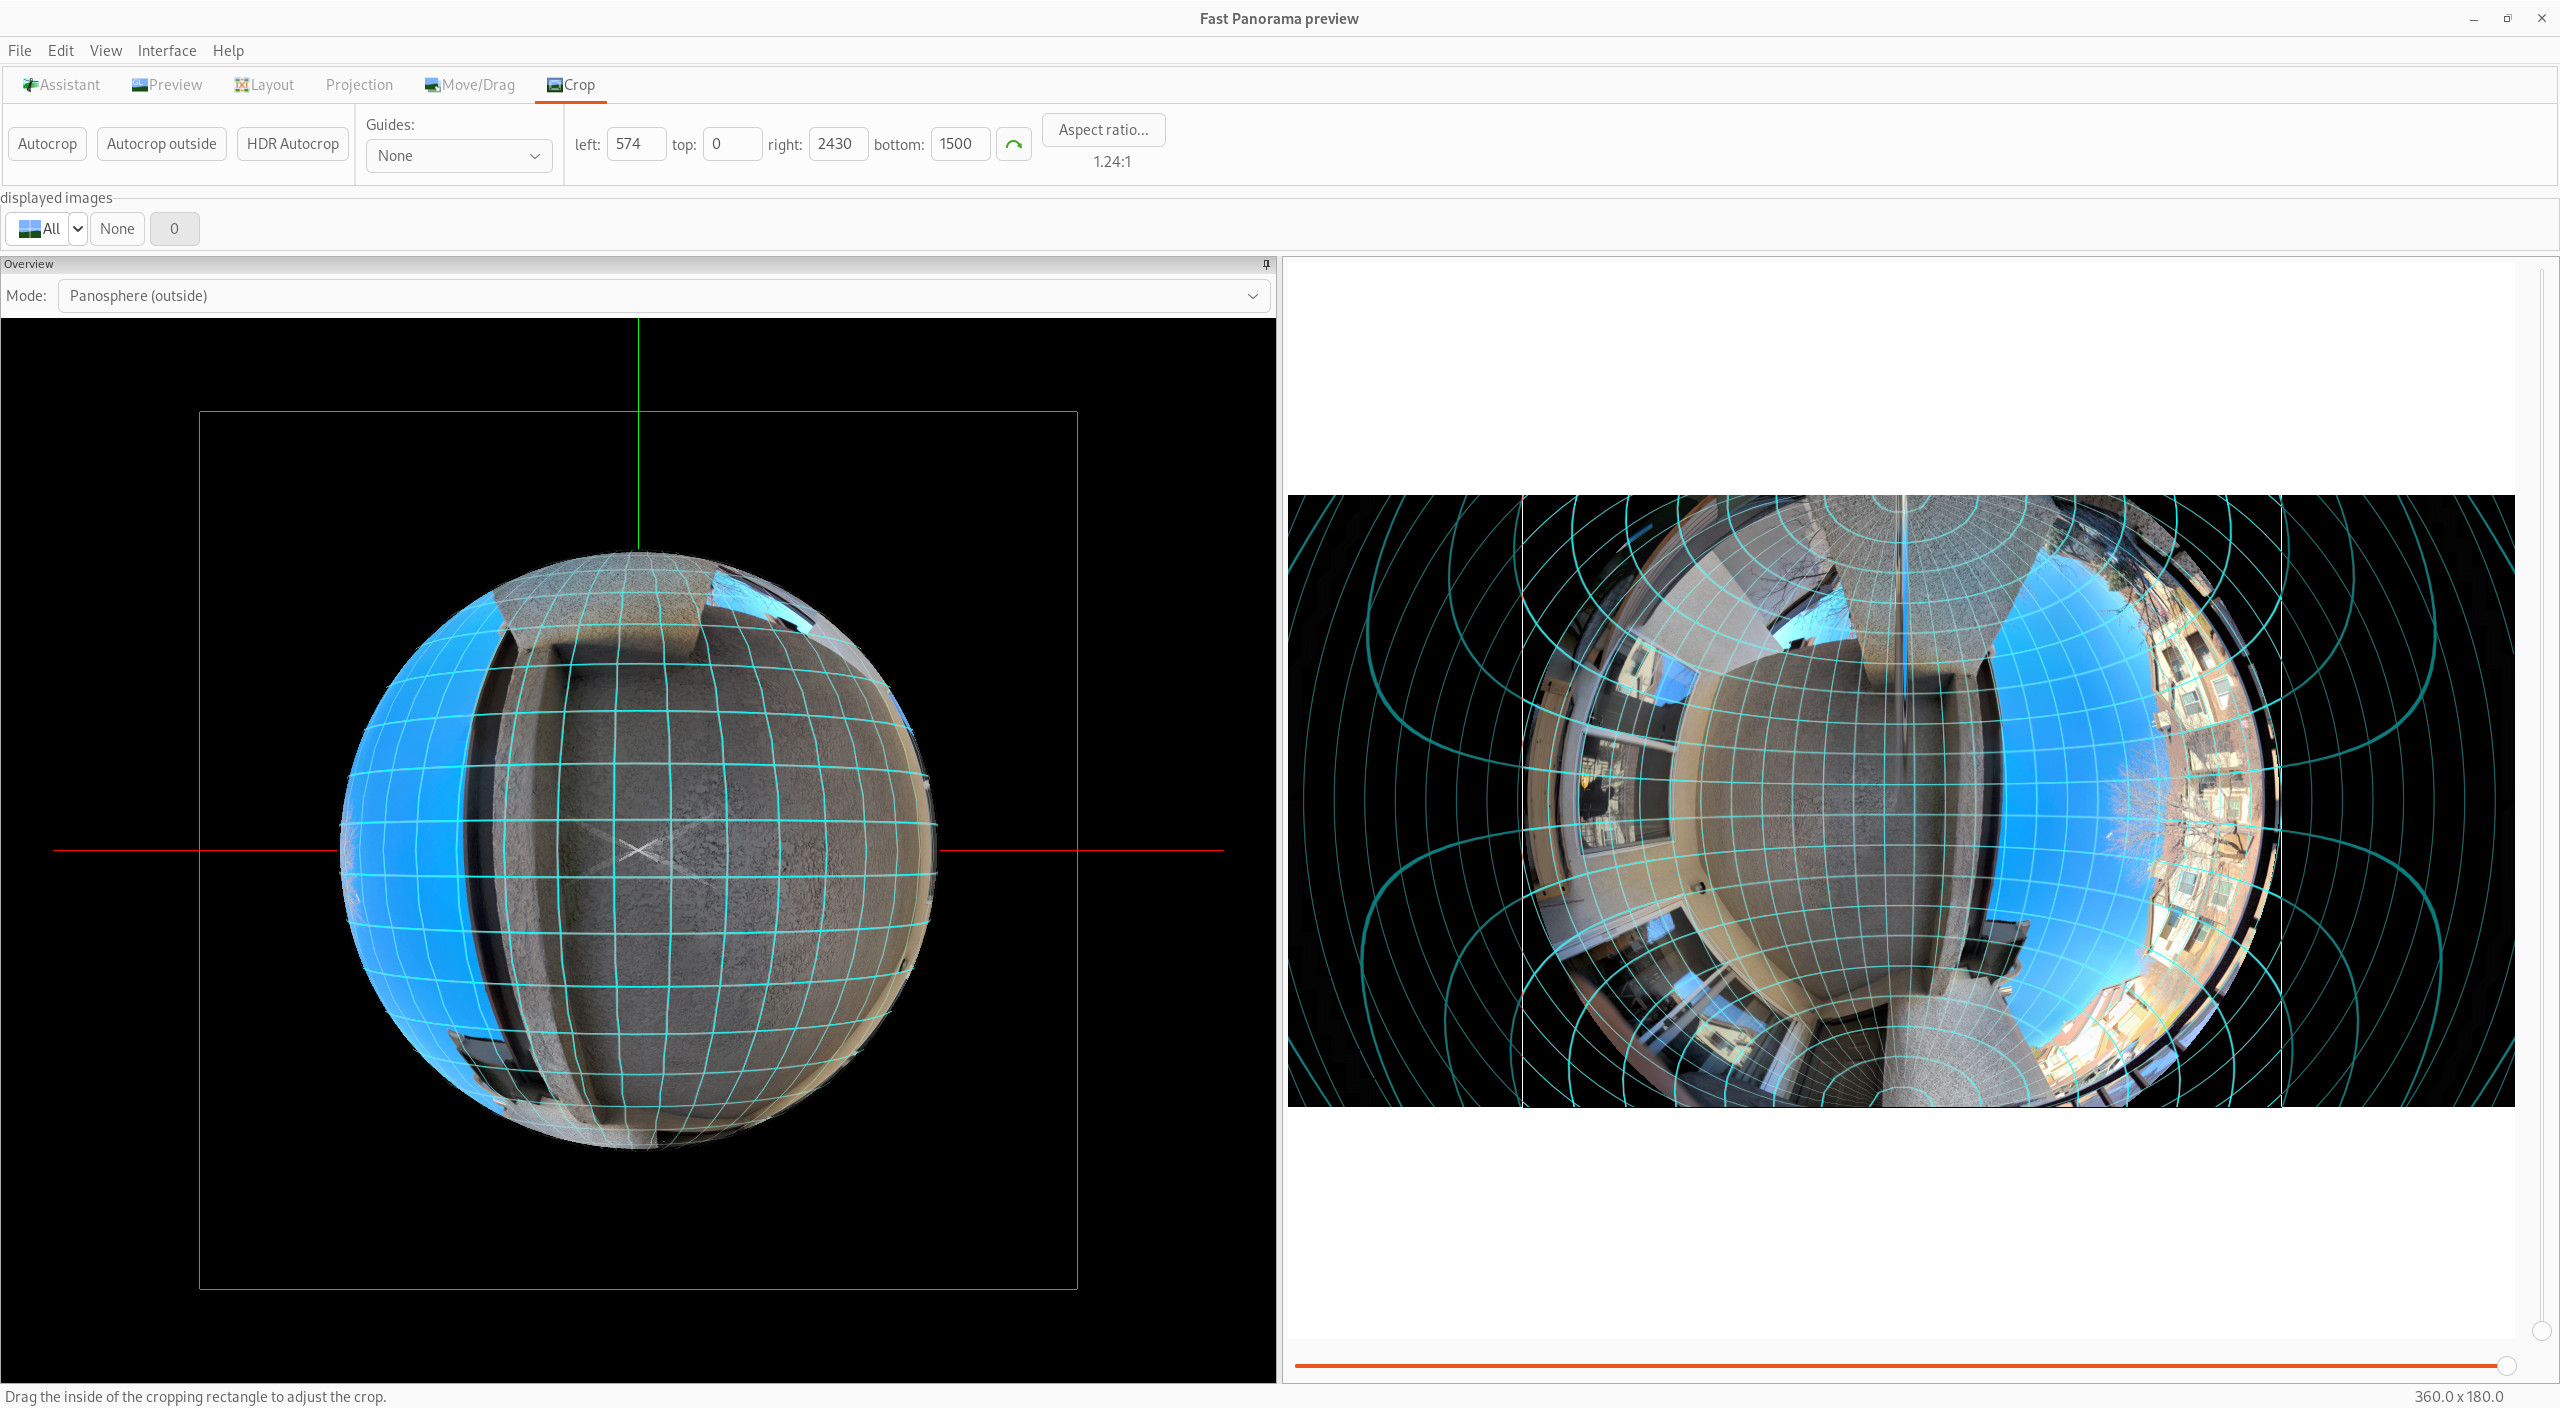
- In the “Crop” tab click “Autocrop” then expand the box in the preview window to include the entire fisheye projection. If you include a little more than needed, you can always crop it down in an image editor later.
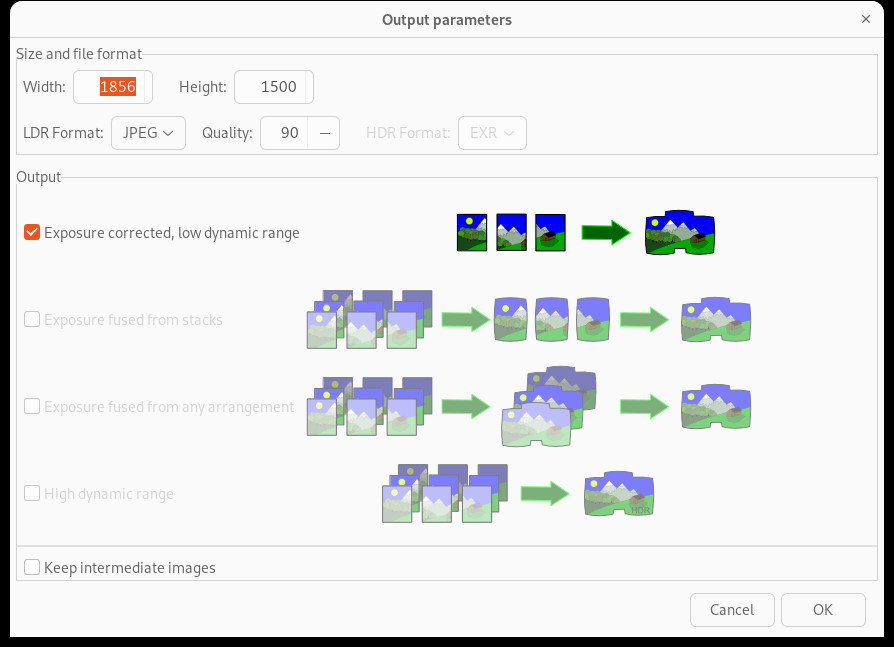
- In the “Assistant Tab” click “Create Panorama”
- Save the resulting image as a PNG.
Screenshots of these steps are shown in the images below.


3. Edit the image to make sky regions transparent
The precise method to do this is also beyond the scope of this tutorial. Generically speaking, open up the resulting image in your favorite image editing software and use the free selection tool to cut out regions containing the sky. In Gimp, this is accomplished using the lasso tool and pressing “delete” with the background color set to the image’s transparent color. Save the resulting image as a PNG file with transparency enabled.
Generically speaking, you need to do the following things:
- Open up the resulting image in your favorite image editing software.
- Use the free selection tool to select regions of the sky and make them transparent. In Gimp, you would use the lasso tool and press the “Delete” key to make those regions transparent.
- Paint the perimeter of the image black.
- Place a mark for the horizon somewhere on the image near a cardinal point.
This makes it easier to adjust the
texturefovparameter in a later step.
The images below show my original fisheye projection image with the sky present and the edited version with the sky removed. The images were taken during the winter, so I’ve allowed generous spacing around the trees to allow for foliage during the summer months. Notice that I also tightly cropped the image to minimize the black area outside of the fisheye projection.
4. Create a new landscape for Stellarium.
- Make a new directory to hold the data
Create a new directory in the Stellarium User Data Directory to hold your landscape data. When this document was written, the current version of Stellarium was 23.0 and the data were stored here:
- Linux:
$HOME/.stellarium/landscapes/ - OSX:
$HOME/Library/Application Support/Stellarium/landscapes/ - Windows:
C:\Users\YOURUSERNAME\AppData\Roaming\Stellarium\landscapes
Newer versions of Stellarium may use different locations, so please consult the documentation above for more recent versions.
- Put your fisheye projection file in that directory. I named mine
fisheye_projection.png - Create a
landscape.inifile with the following data and save it
[landscape]
name = My Observatory's Horizon
author = Your Name
description = Some useful description
type = fisheye
maptex = fisheye_projection.png
texturefov = 220
minimal_altitude = -2
ground_color=0,0,0
angle_rotatez=0
You may need to try different values of the following parameters to best fit your image:
texturefov- sets the total field of view of the projection. Ideally this would be 180 degrees; however, Hugin often makes projections that are larger than this. You can count the 10 degree squares in Hugin to get an estimate of how large your image will be. Fine tune the parameter using the line we drew in the image above in step 4.4.minimal_altitude- specifies the altitude for the lower bound of the image.angle_rotatez- allows you to rotate the image around the zenith location to align with North.
5. Activate the landscape within Stellarium.
Launch Stellarium. If all went well, you should find your new landscape in the “Sky and Viewing Options [F4]” dialog under the Landscape tab.